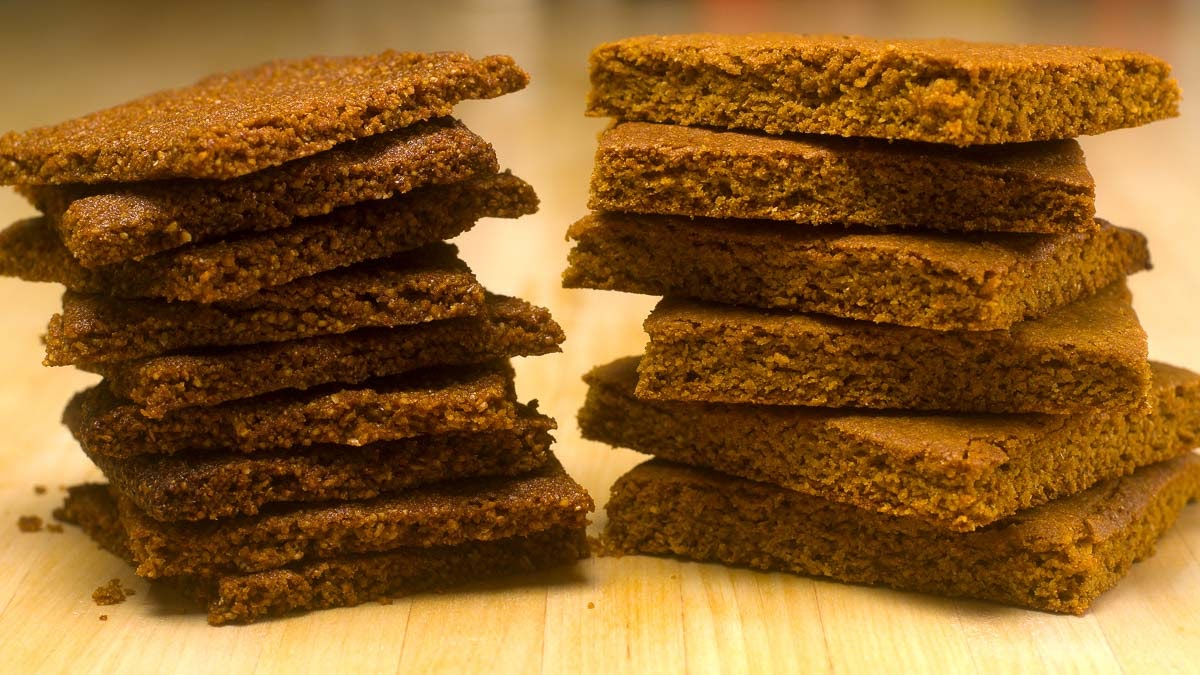
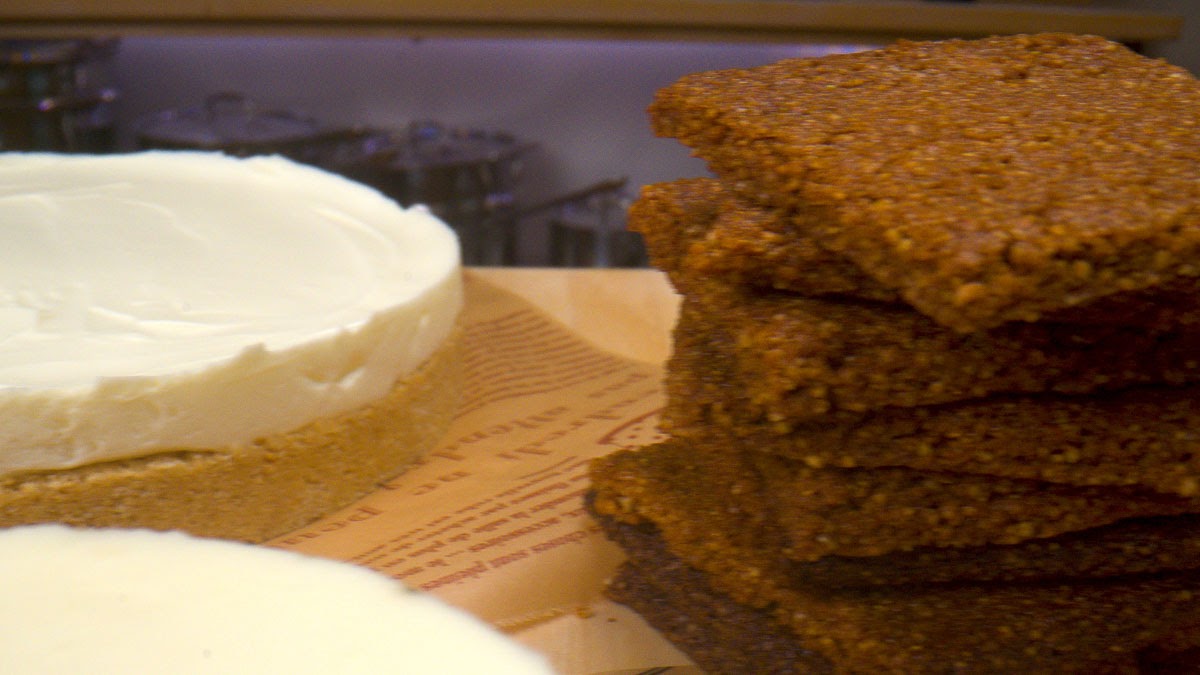
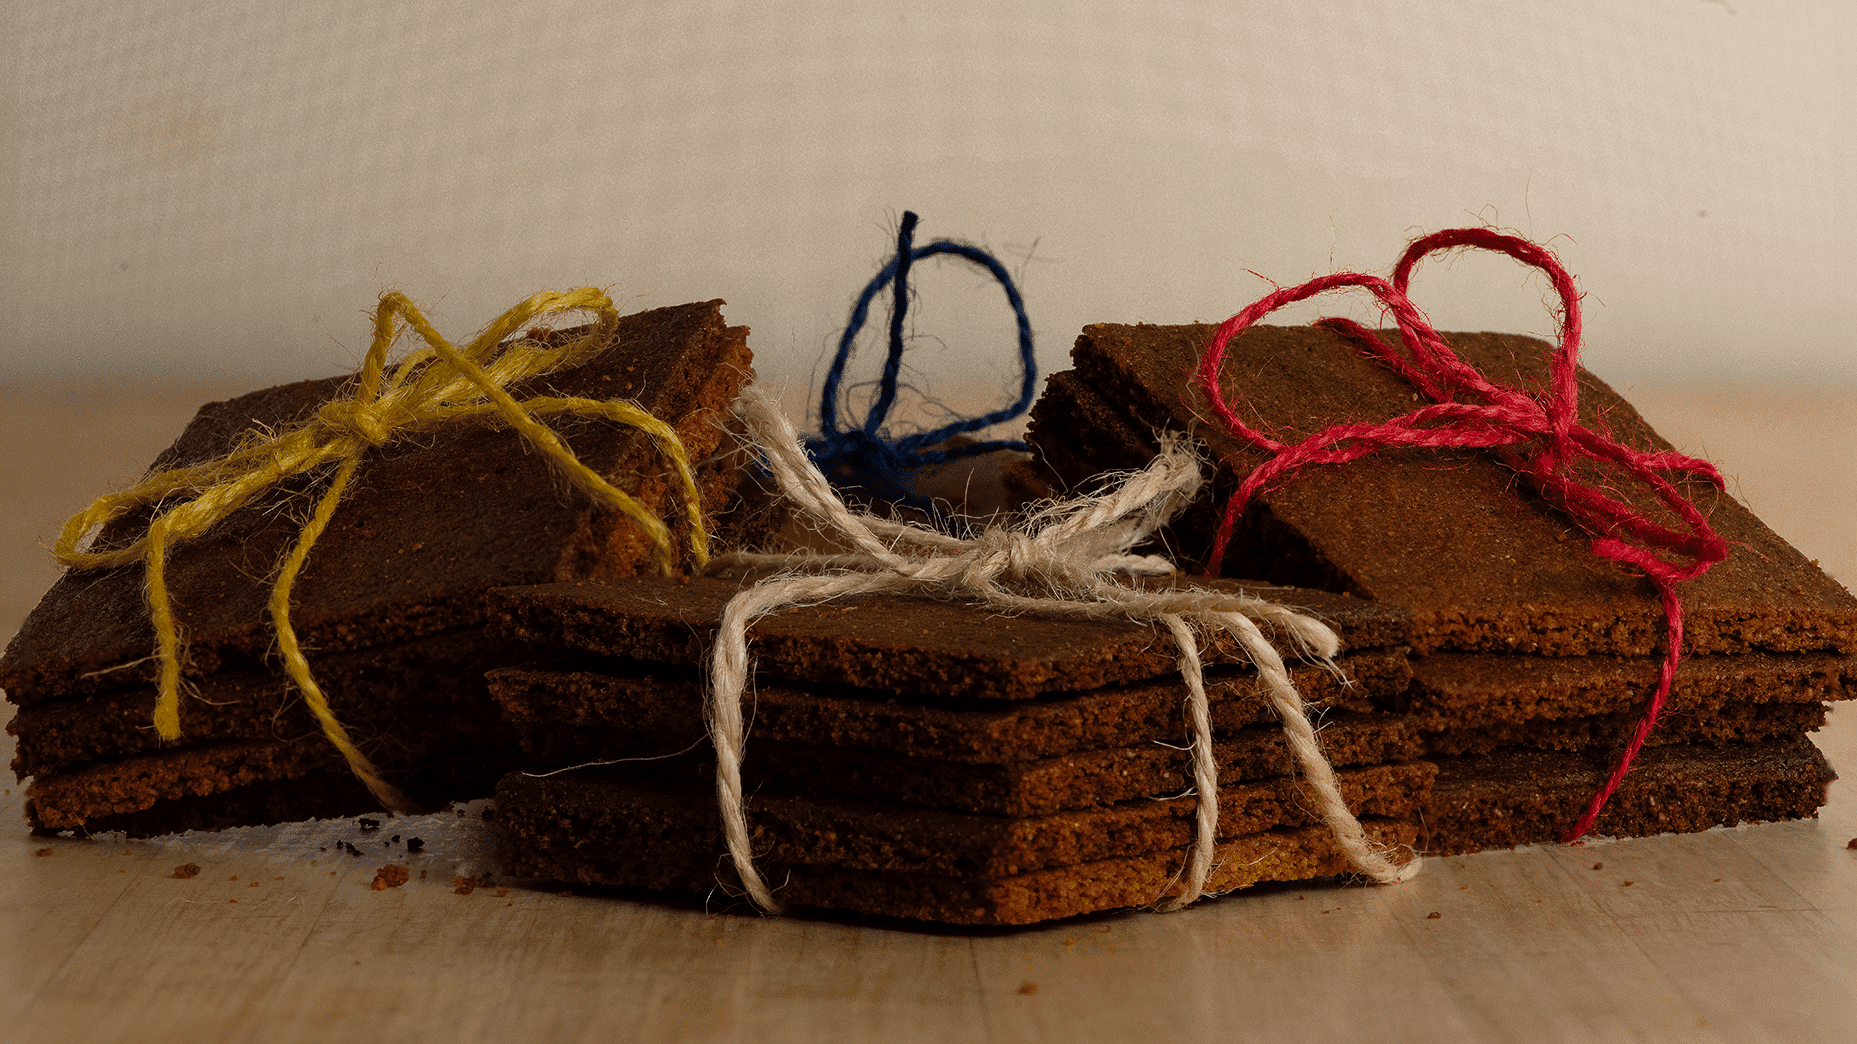
These crackers are perfect for cheesecake crusts, graham cracker crusts, s’mores, or just to have as a snack (excellent with cream cheese).
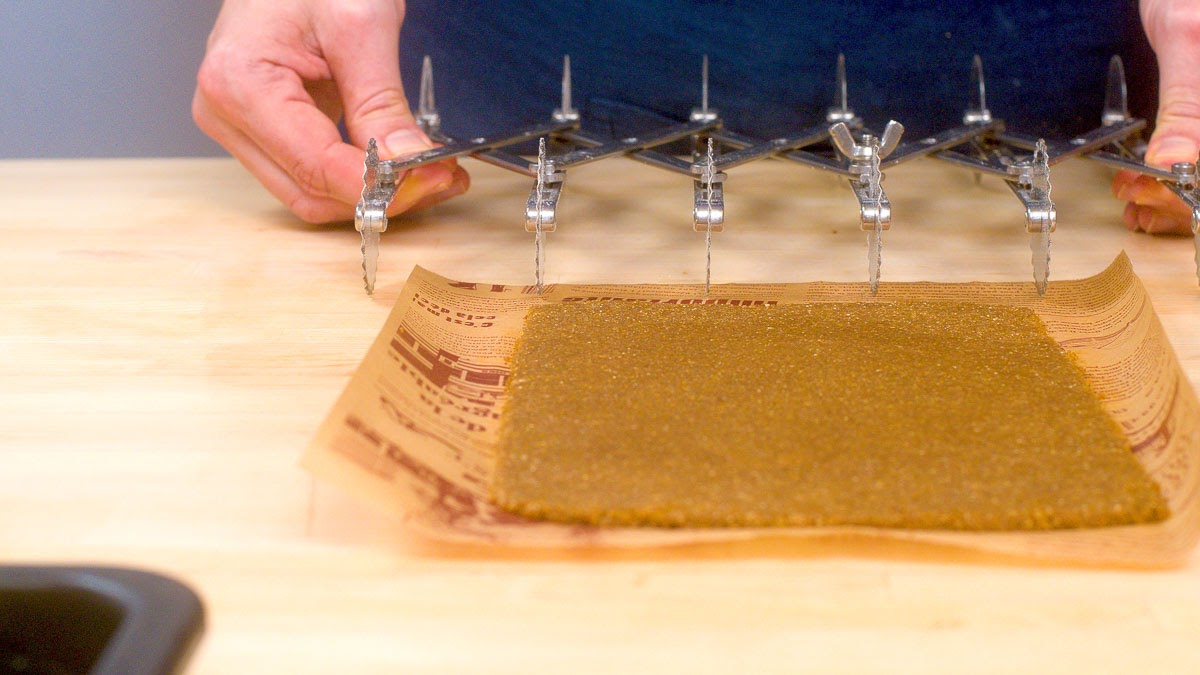
Homemade graham crackers have a delightful flavor from the molasses or honey — and a unique texture when made with graham flour, but you can make them from whole wheat flour, too.
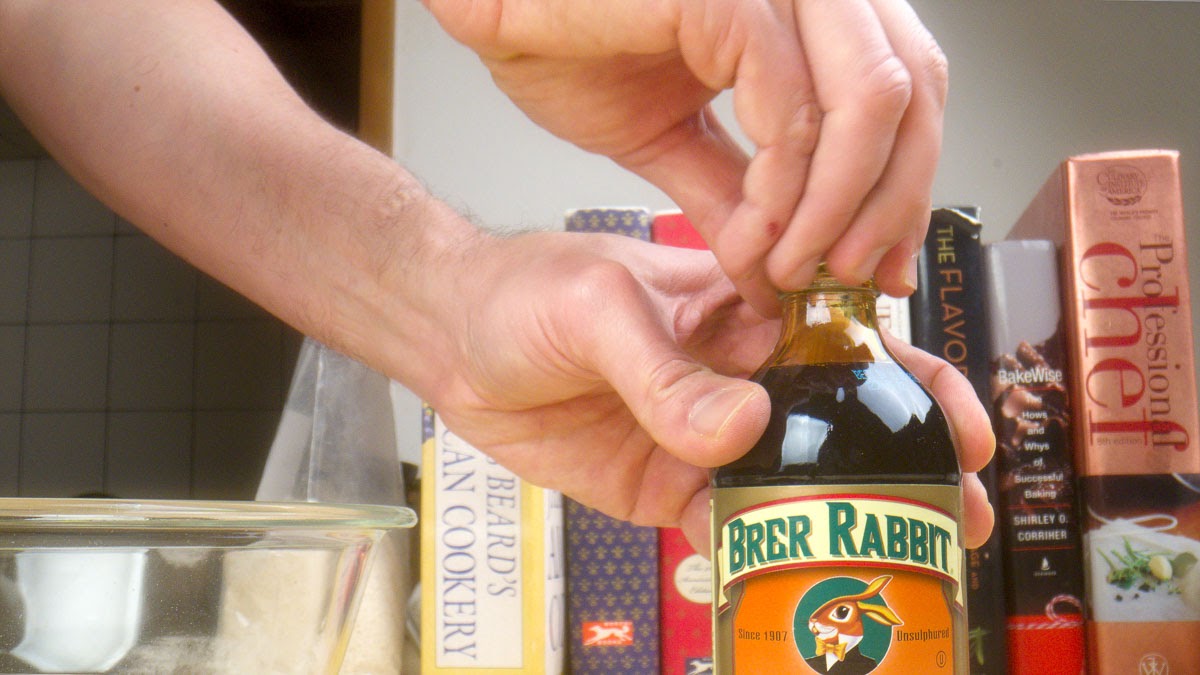
You can use honey or molasses, but molasses has an amazing taste.
Recipe
240 grams/2 cups graham or whole wheat flour
53 grams/½ cup AP (white) flour
53 grams/½ cup brown or dark brown sugar
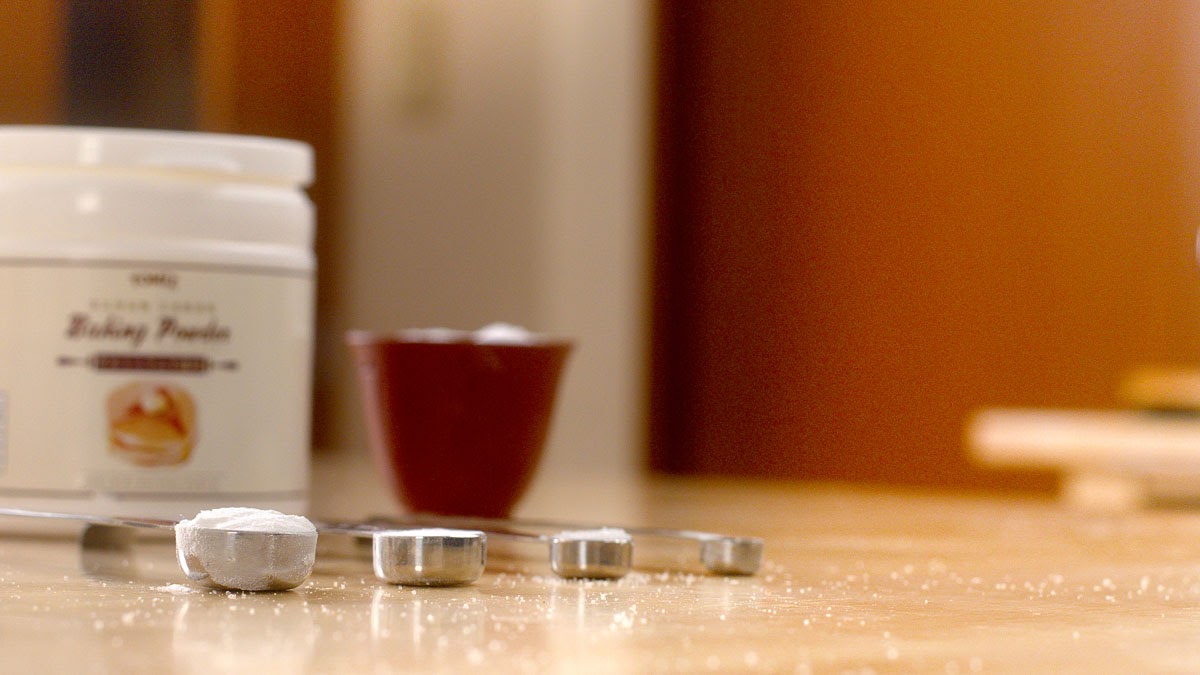
1 tsp baking powder
½ tsp baking soda
¼ tsp salt
⅛ tsp cinnamon
85 grams of butter
60 grams molasses or honey up to
40 grams of milk (you can substitute 1 tbs of milk for 1 tbs of vanilla)
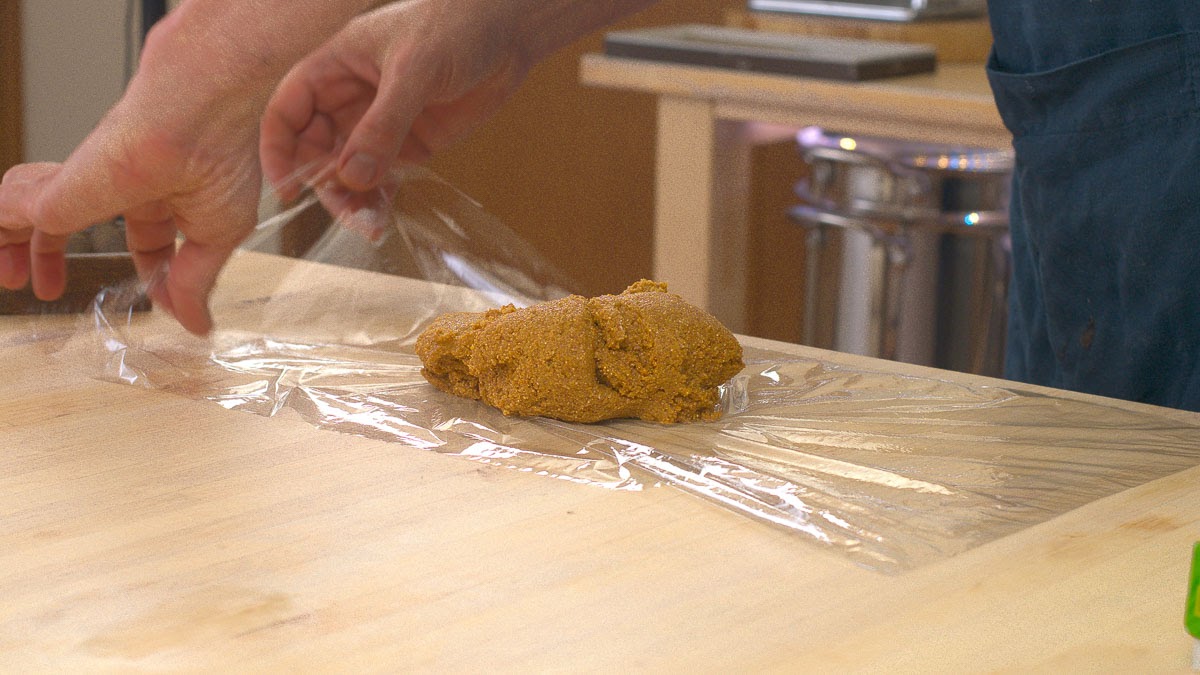
Directions
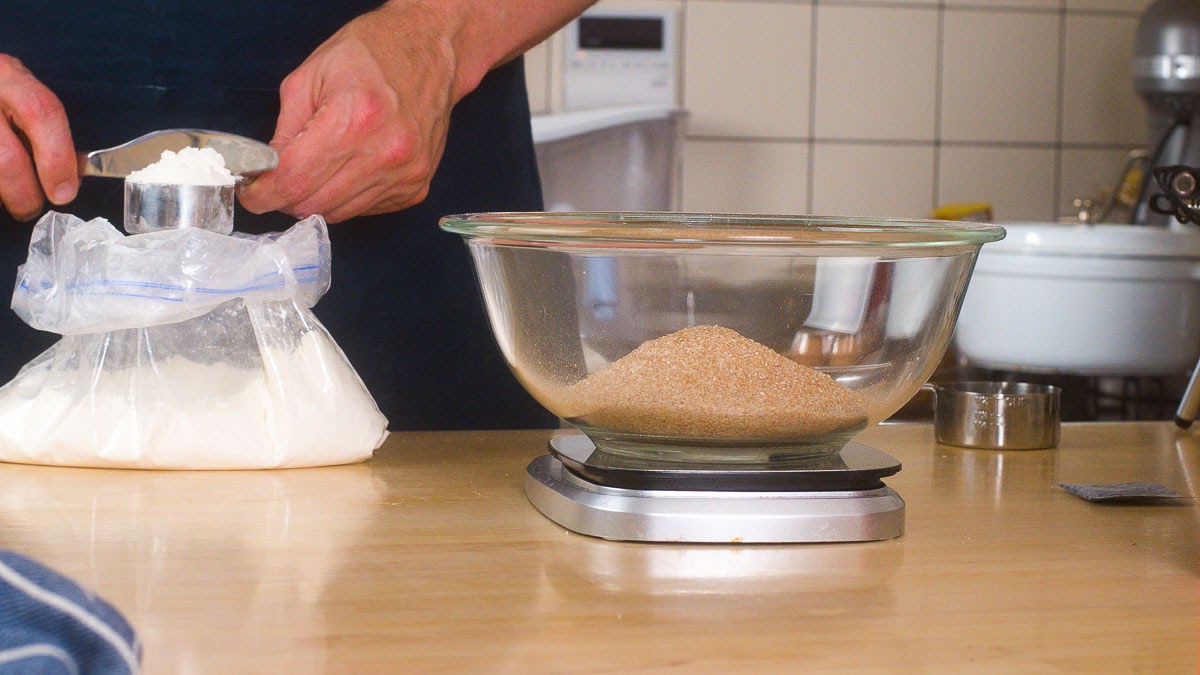
Mix all the dry ingredients together.
Cut in the butter until it is the texture of sand.
Add in the molasses or honey plus the liquid.
Stir until well combined.
Refrigerate for at least 30 minutes to hydrate the flours.
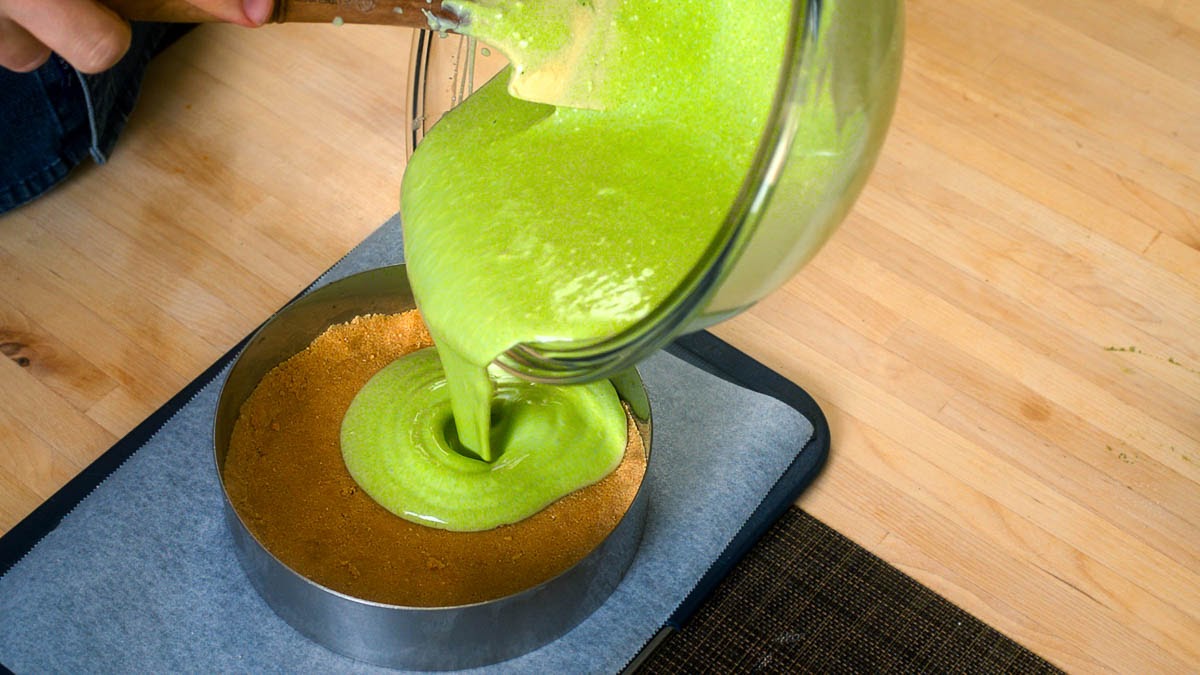
Japanese Rare Cheesecake sets the cake with gelatin and adds yogurt for a refreshing tartness.
Running a food YouTube channel, I eat more than should that’s why I started playing around with this classic Japanese cheesecake.
My original video featured three different cheesecakes but ran too long, so I’ve cut them — and this blog post — into three different recipes. Today, the original Japanese Rare Cheesecake with an optional modification to bring the calories way, way down.
Ingredients
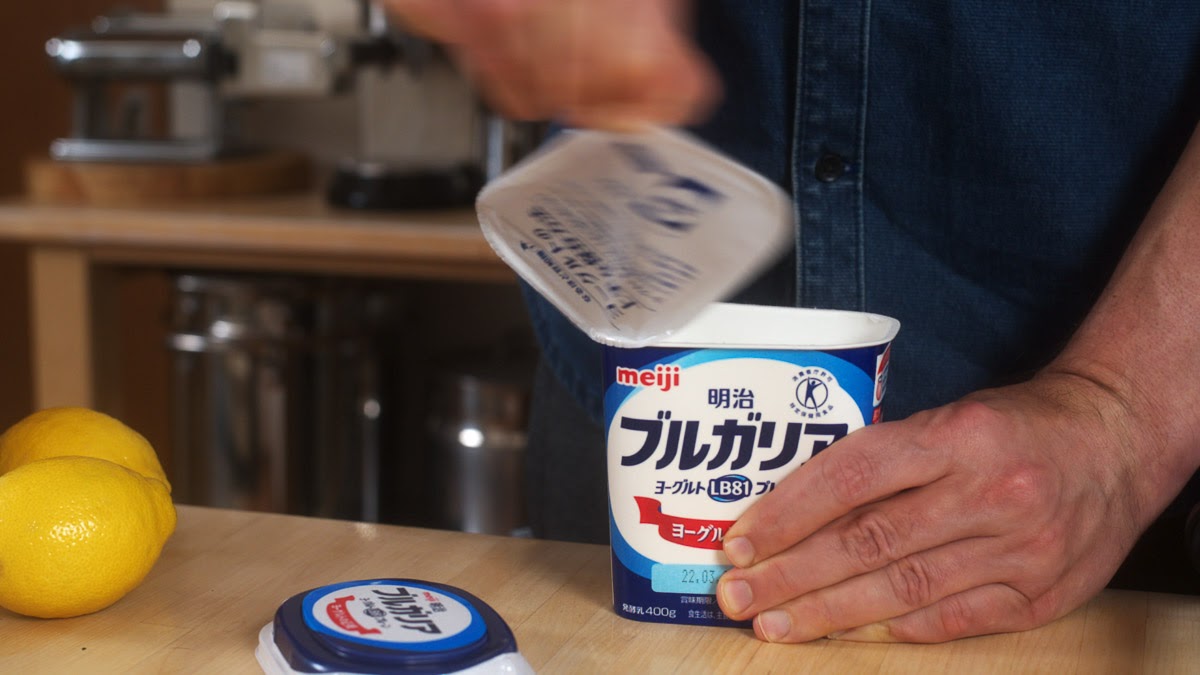
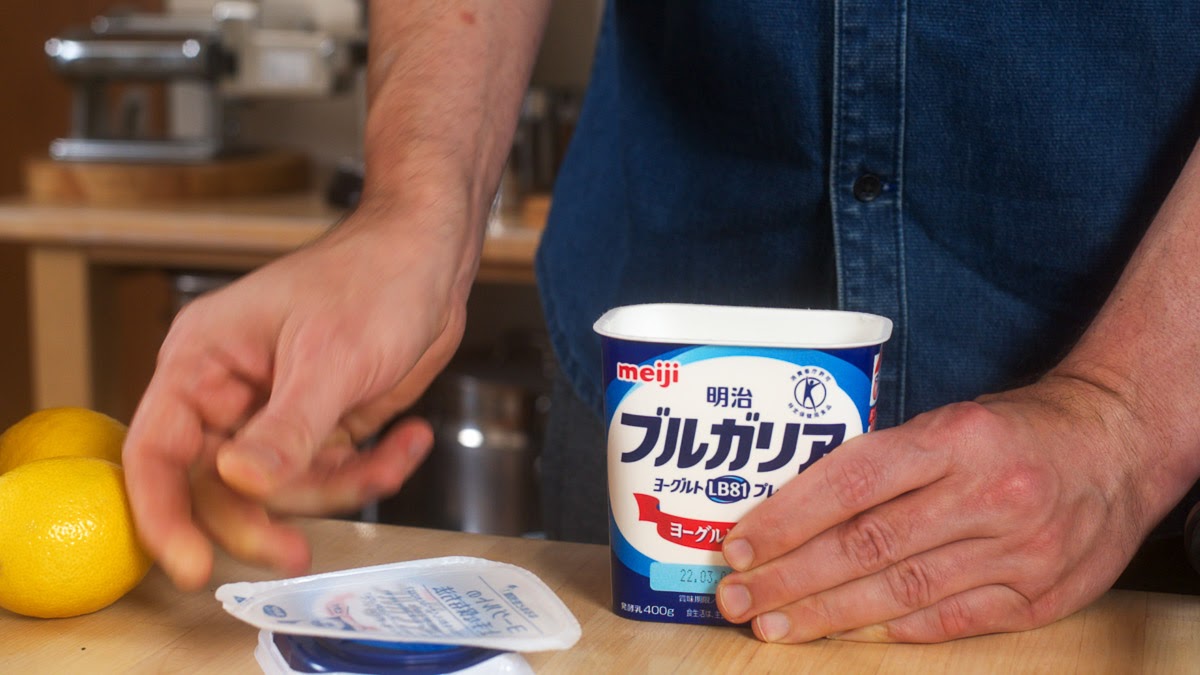
250 grams Cream Cheese or Greek Yogurt
250 grams regular yogurt
5 grams of gelatin
3 tablespoons of water
60 – 80 grams of sugar (or sugar replacement)
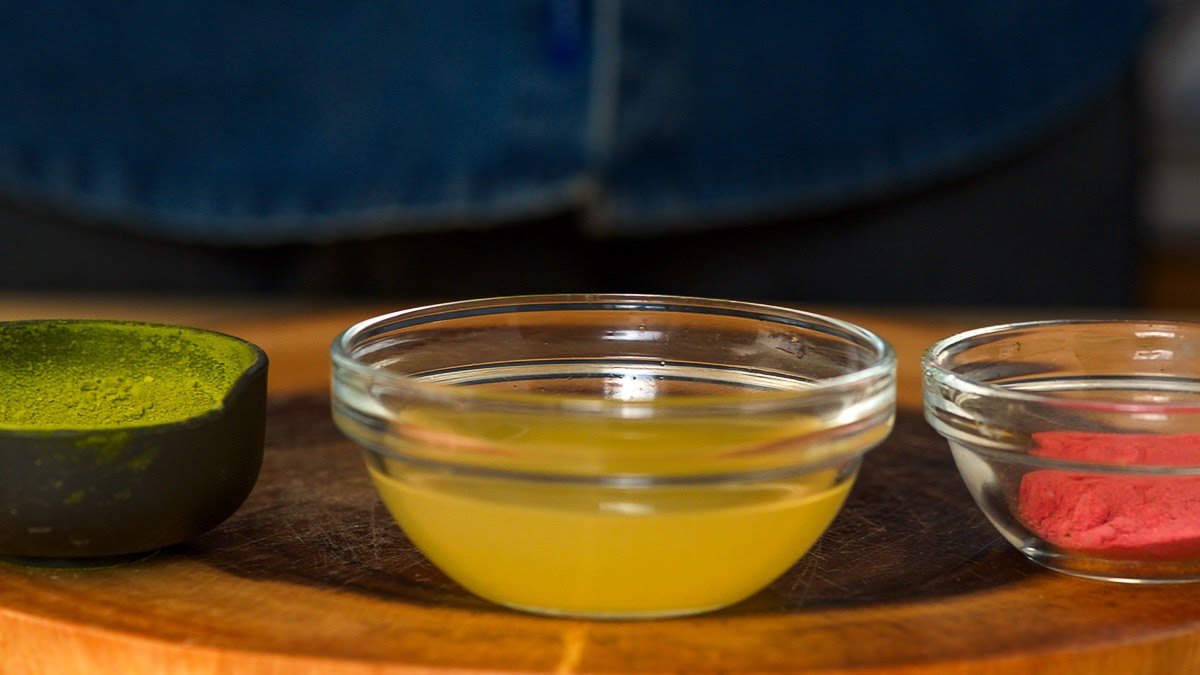
Flavorings (chose one)
Matcha powder 1- 3 teaspoons
Lemon Juice – 2-3 tablespoons
Freeze dried strawberry powder 2 – 3 teaspoons
150 grams whipped cream or whipped milk (optional) (recipe follows)
Common flavors are matcha, lemon juice, and strawberry powder.
Directions
Drain regular yogurt overnight in a strainer to make the Greek Yogurt or use regular cream cheese.
Greek Yogurt is simply regular yogurt without most of the whey.
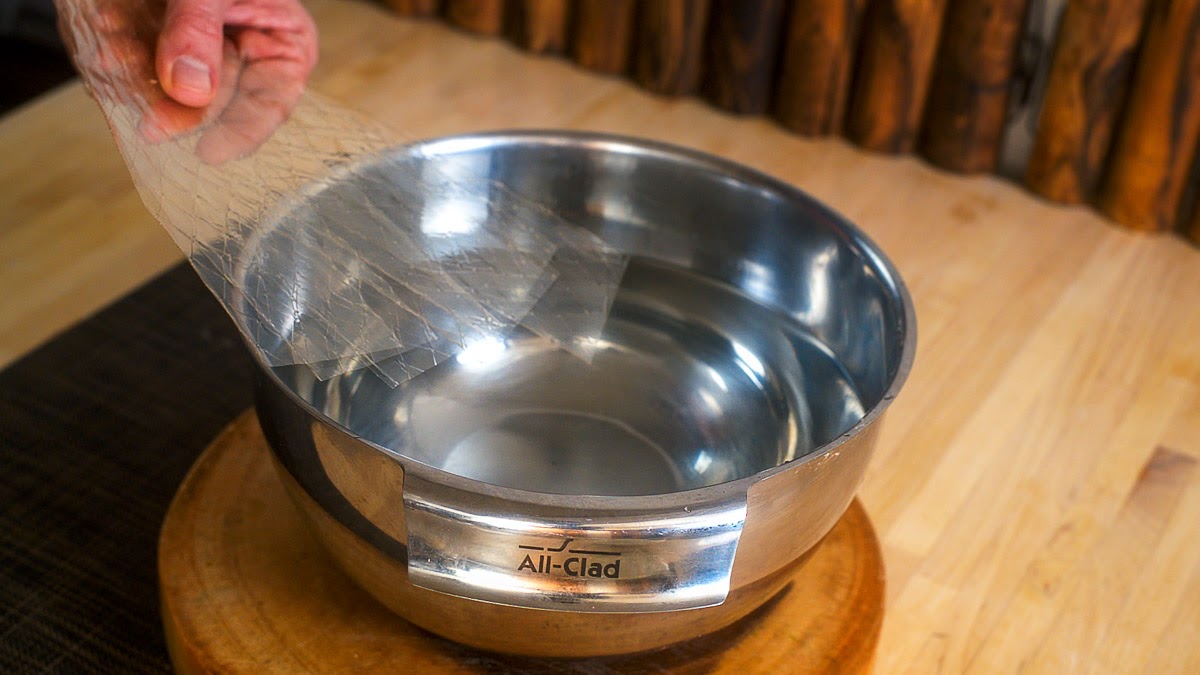
Bloom the gelatin in the water (at least five minutes).
Blooming rehydrates the gelatin.
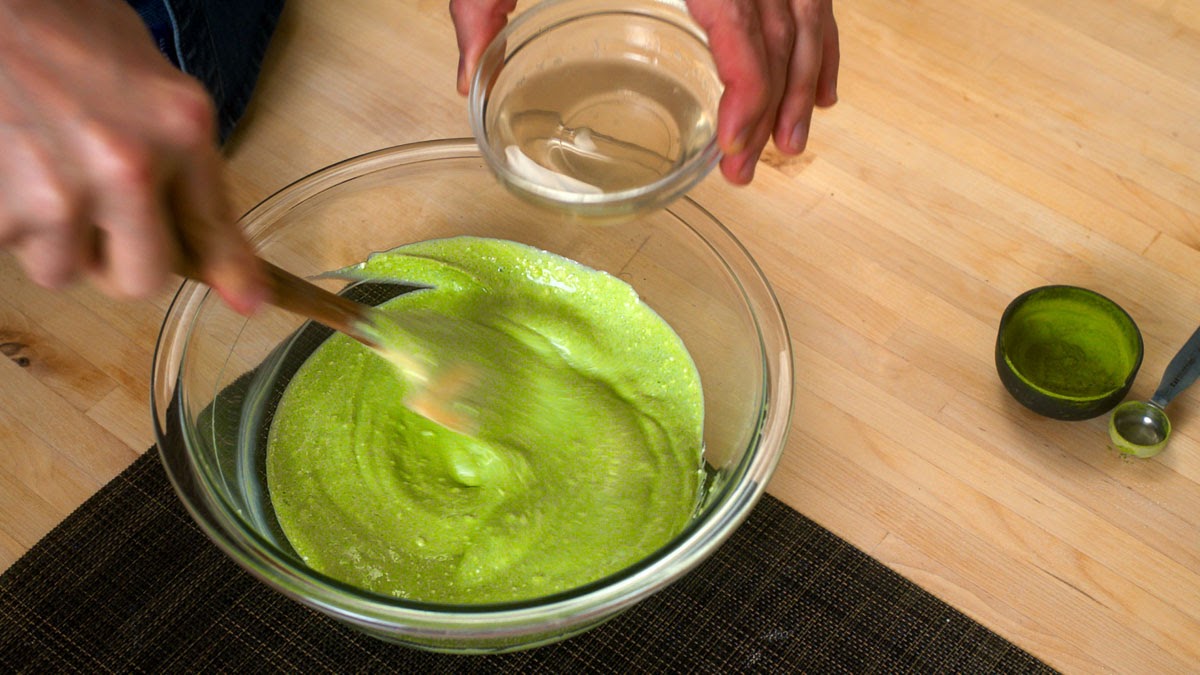
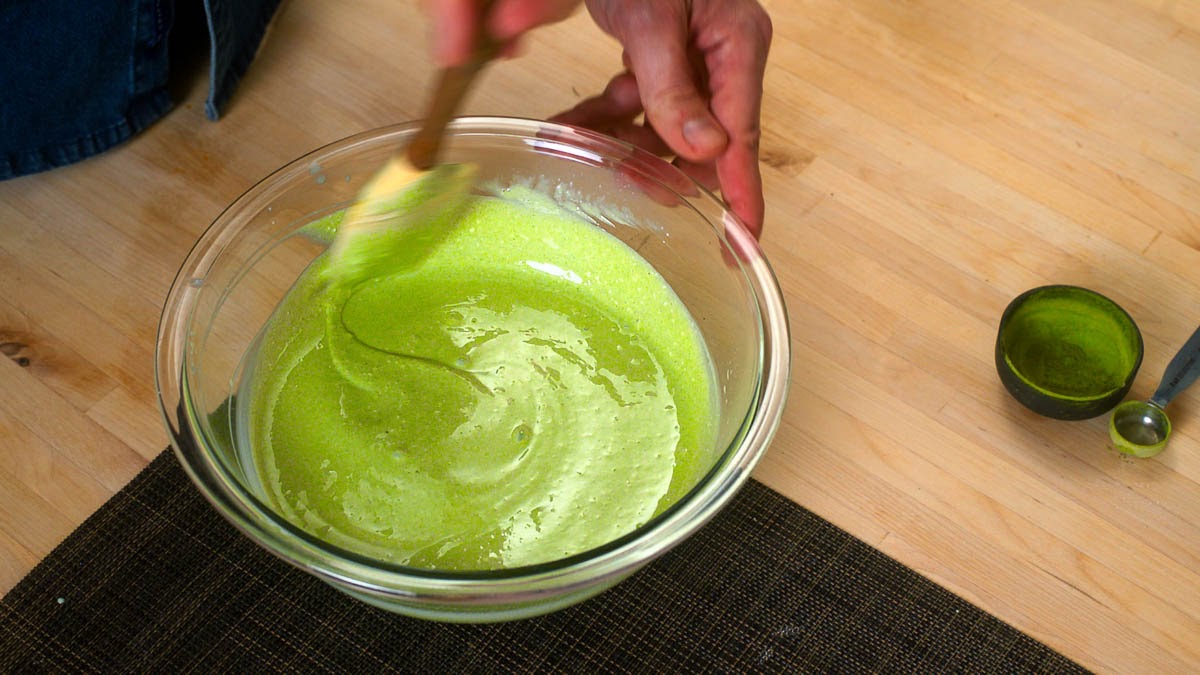
Combine the Greek Yogurt/Cream cheese with the yogurt, sugar, and flavoring and mix to combine.
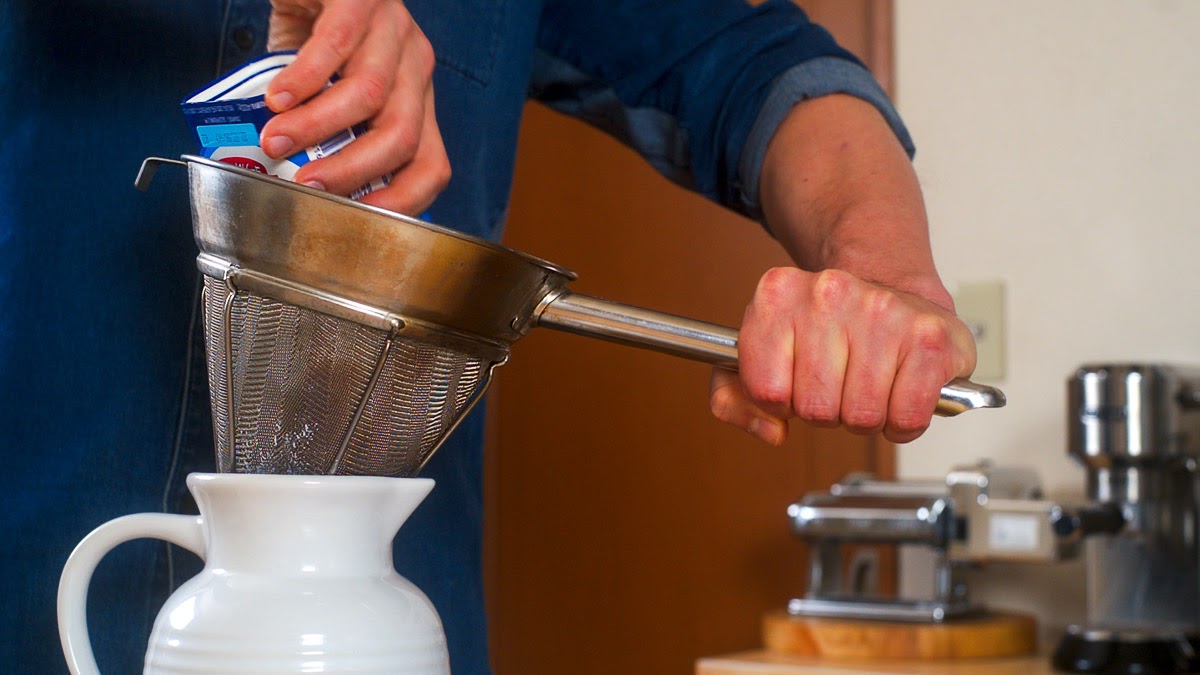
If the mixture is lumpy, strain it thought a mesh sieve into a new bowl.
Melt the gelatin in the water by placing it in the microwave or in a double boiler.
Add the melted gelatin to the Cream Cheese/Greek Yogurt mixture.
Add the optional whipped cream or whipped milk, if using.
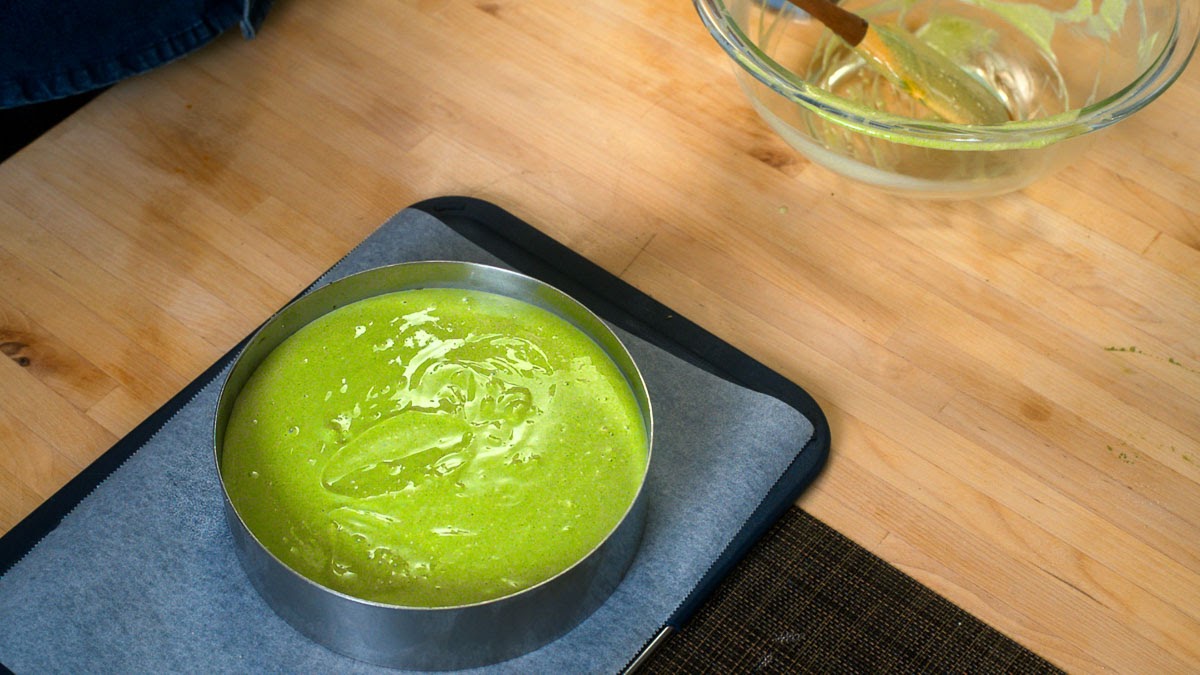
Pour into pie shell, graham cracker crust, or other serving vessel.
Chill at least six hours to over night.
Whipped Milk is an under appreciated way to add lift to desserts without all the calories. It’s a blank canvas onto which you can add different flavors that are incorporated into your desserts.
Ingredients
300ml (1 ¼ cups whole milk)
5 grams gelatin
2 tablespoons sugar (optional)
Any flavoring you like (optional)
Directions
Bloom the gelatin in the ¼ cup milk.
Melt the gelatin and let cool.
Put the one cup of cold milk in a bowl and place that bowl over ice.
Add the sugar and any flavorings, if you are using.
Add the gelatin and stir to cool the mixture.
Start to beat the mixture with an electric beater until soft peaks form. This will take about 10 minutes at medium speed.
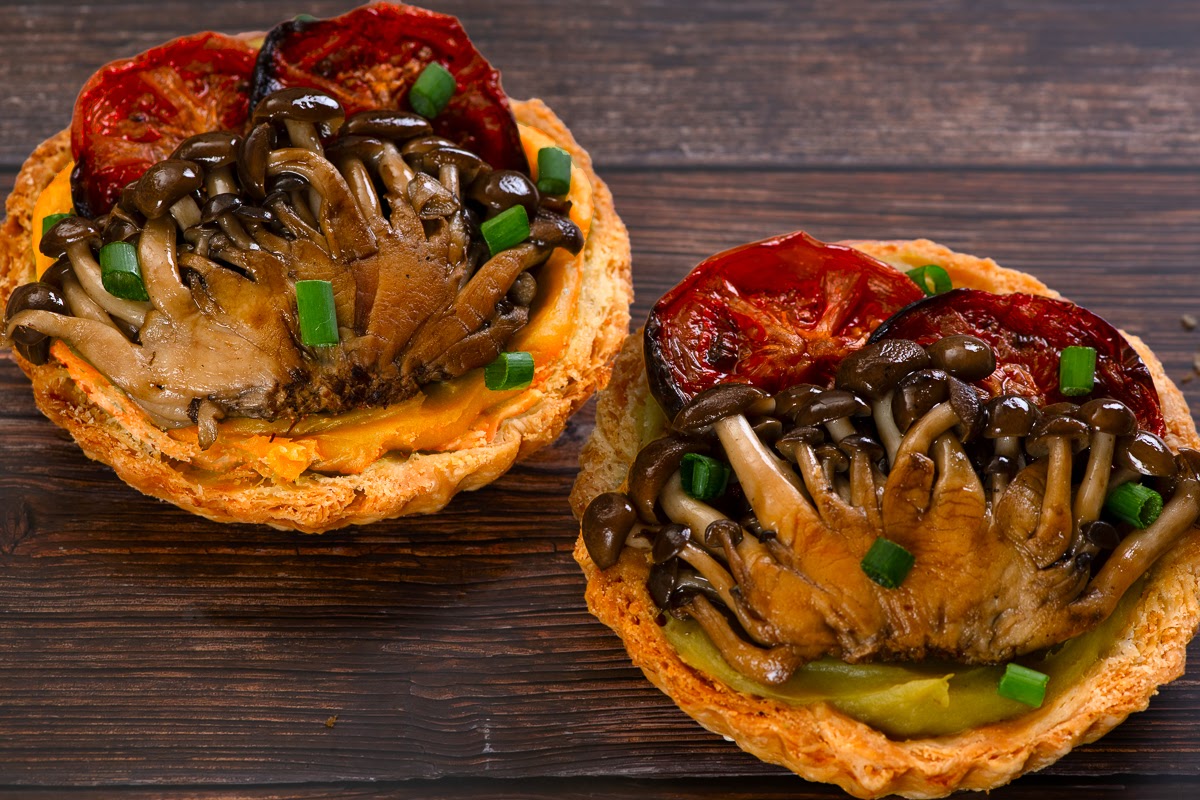
Below is the pastry I used in making my Mushroom Tarts. The recipe I’ve used for years is from Julia Child’s ‘Mastering the Art of French Cooking’ with two minor changes:
I add more sugar to help in browning (see how golden that crust is?).
I used only butter, replacing the lard in her original recipe for butter. (I prefer lard in my crusts but I wanted to keep the recipe vegetarian as the tart can be thought of as vegetarian.)
For The Tart Shell
240 grams AP flour
1 teaspoon salt (for flavor)
1 teaspoon sugar (for color)
224 grams of butter (see note)
1/2 cup ice water
(note: Child’s original recipe calls for 184 grams butter and 56 grams lard and ¼ tsp sugar.)
Directions
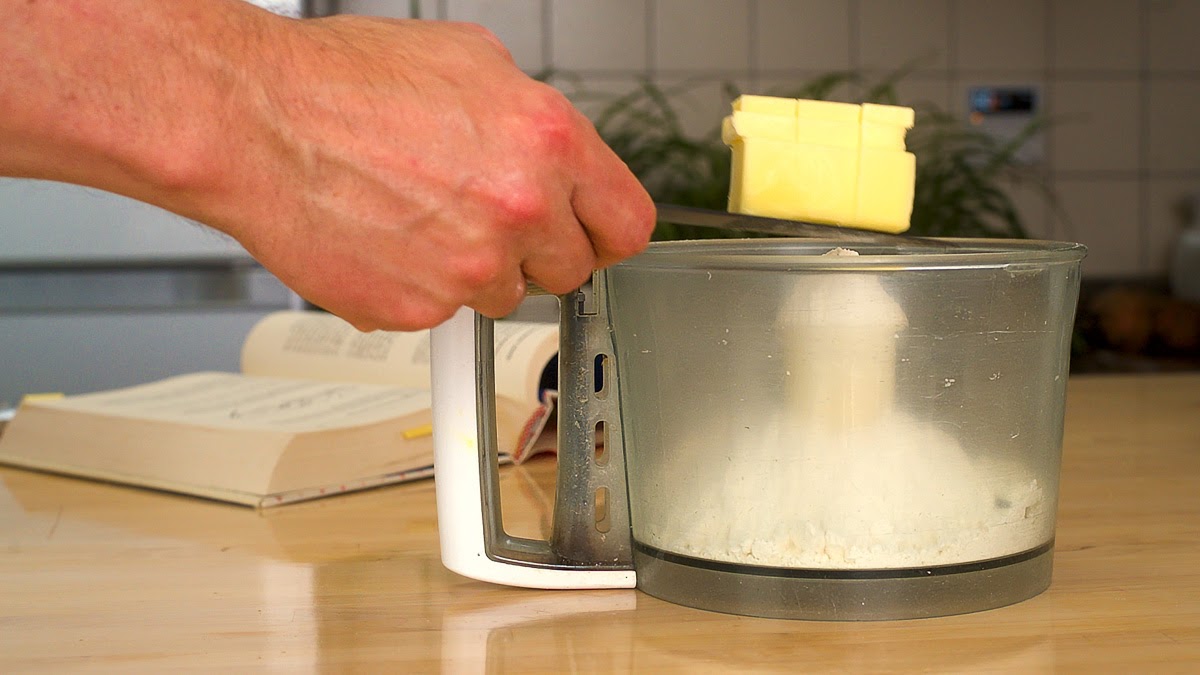
Mix the flour, salt, and sugar — let it whirl in the food processor.
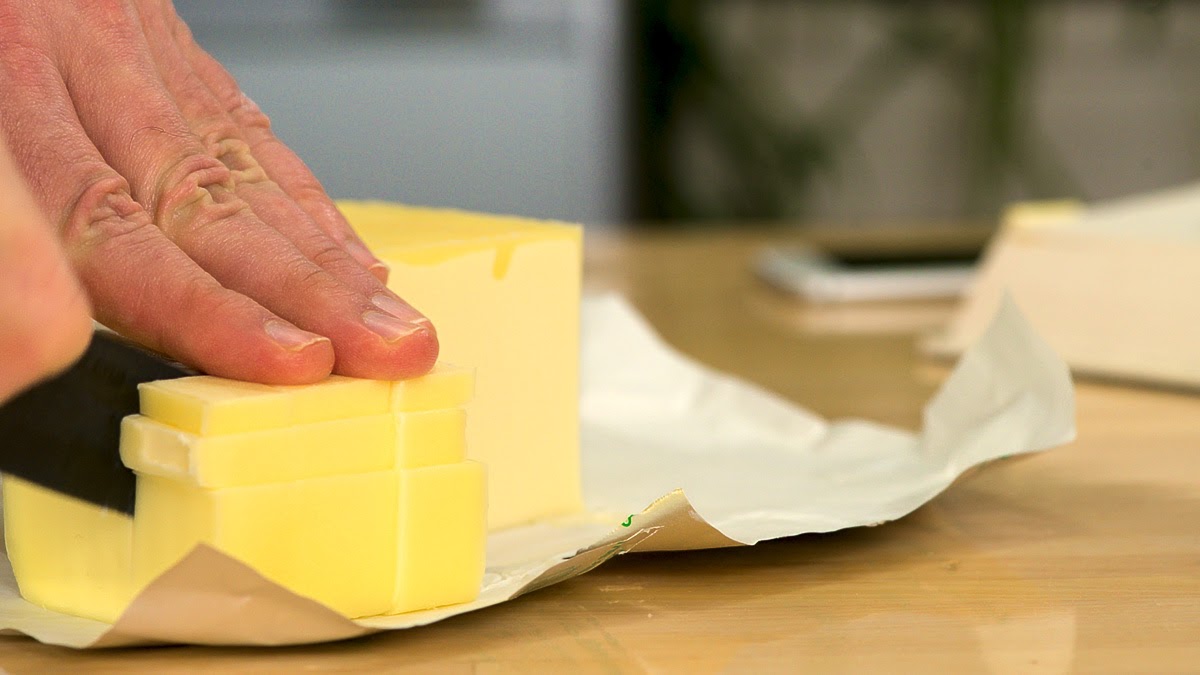
Cut the butter into cubes.
To break up the butter cubes, toss them with the flour mixture (in the food processor).
Either pulse your food processor 5 or 6 times to blend the butter with the flour mixture or cut the butter into the flour mixture with a fork or pastry cutter until it’s the size of small peas.
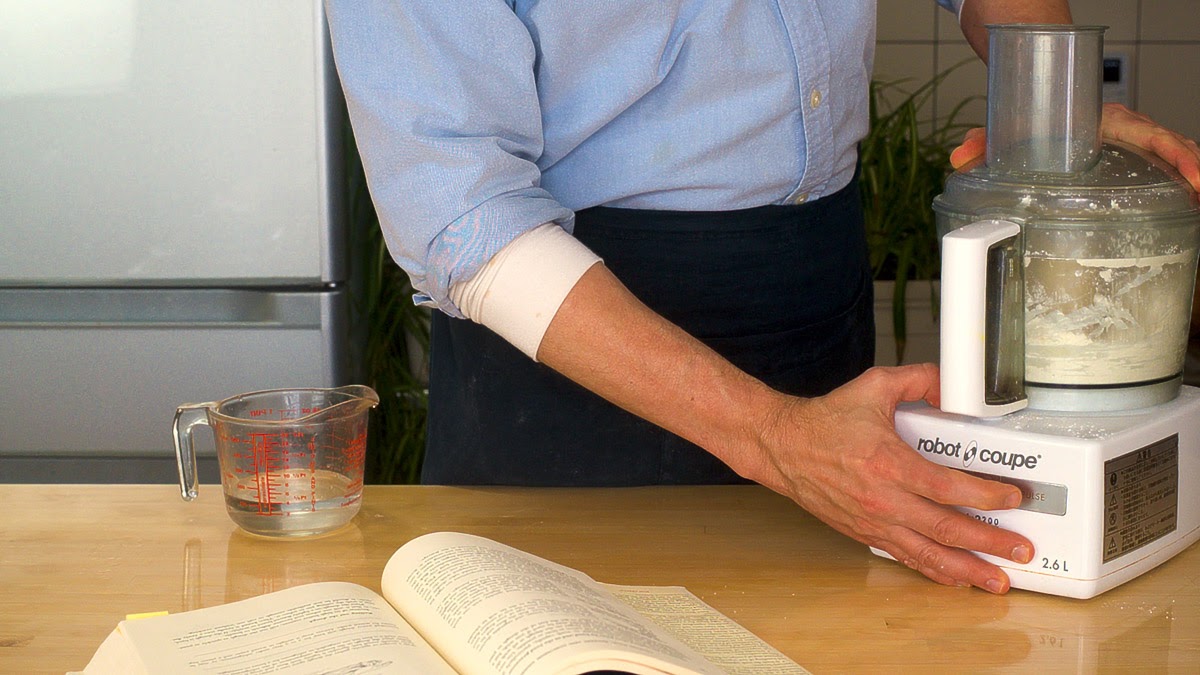
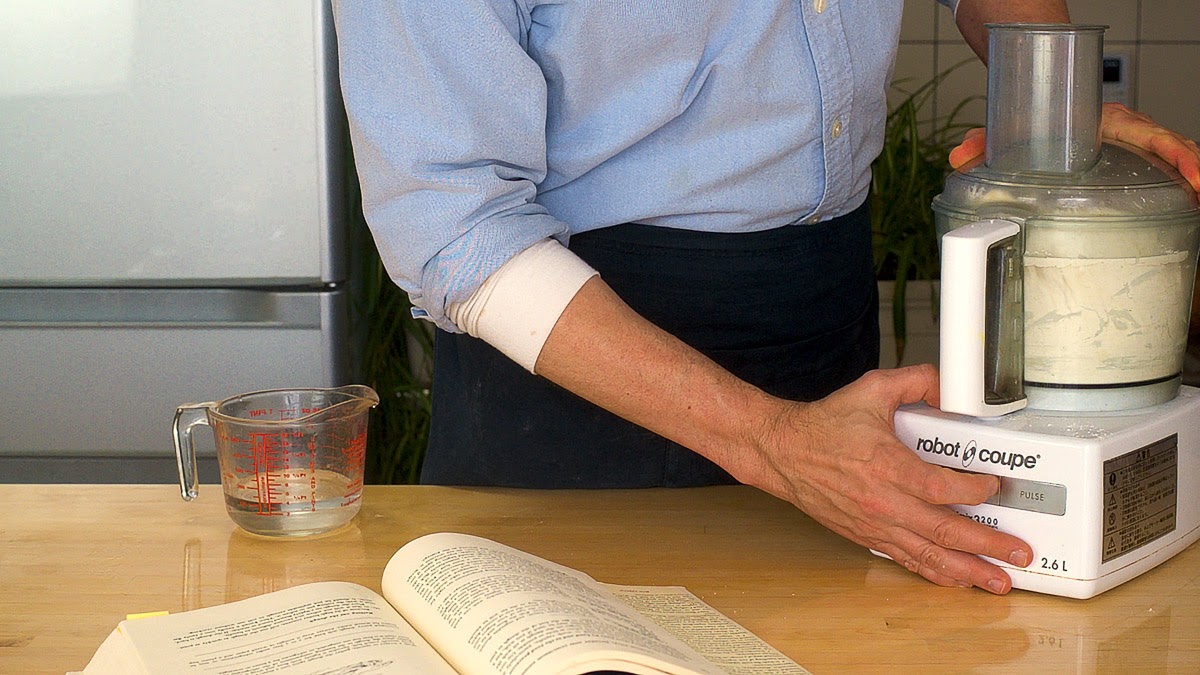
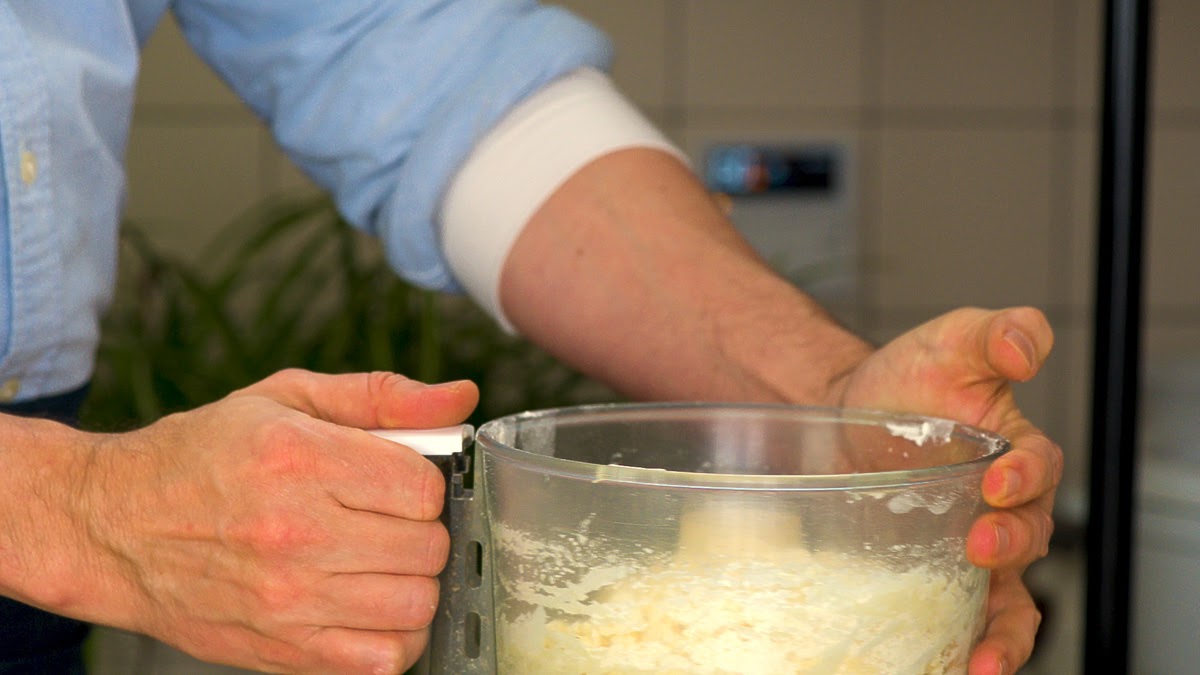
If you’re using the food processor, turn on the machine and pour the water in all at once. Stop when the dough gathers round the blade. (It will take less than 30 seconds.)
If you’re mixing by hand, pour in all the water and gently toss it all tother with a fork or spatula until the water is absorbed.
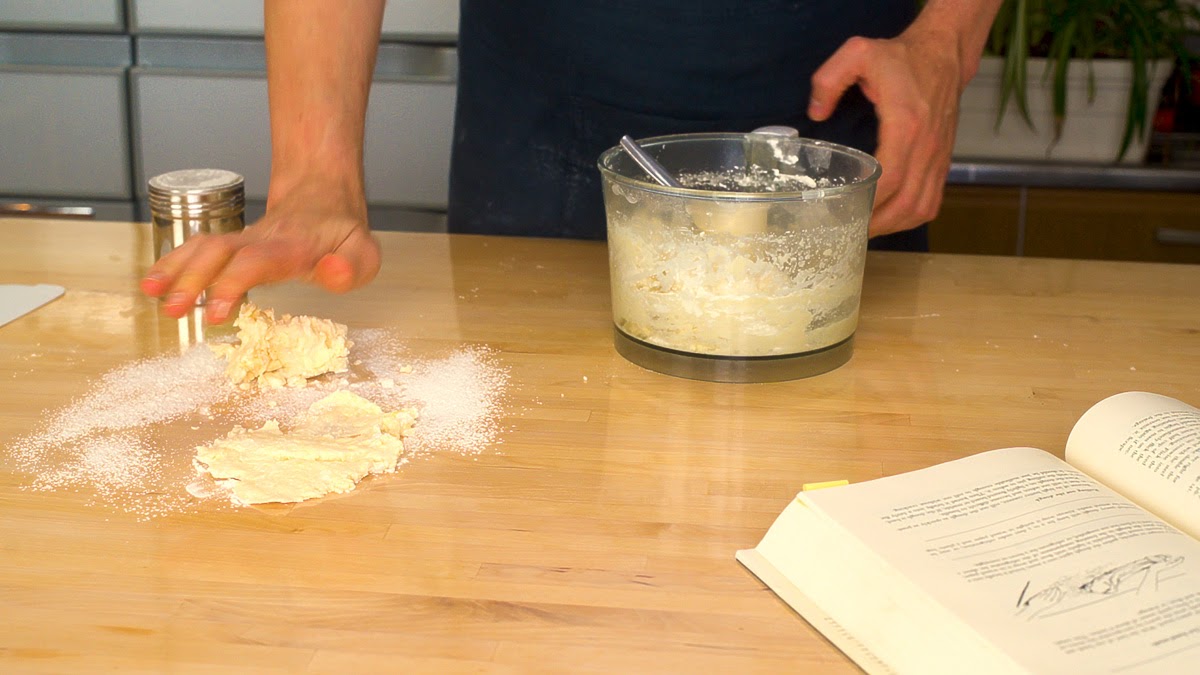
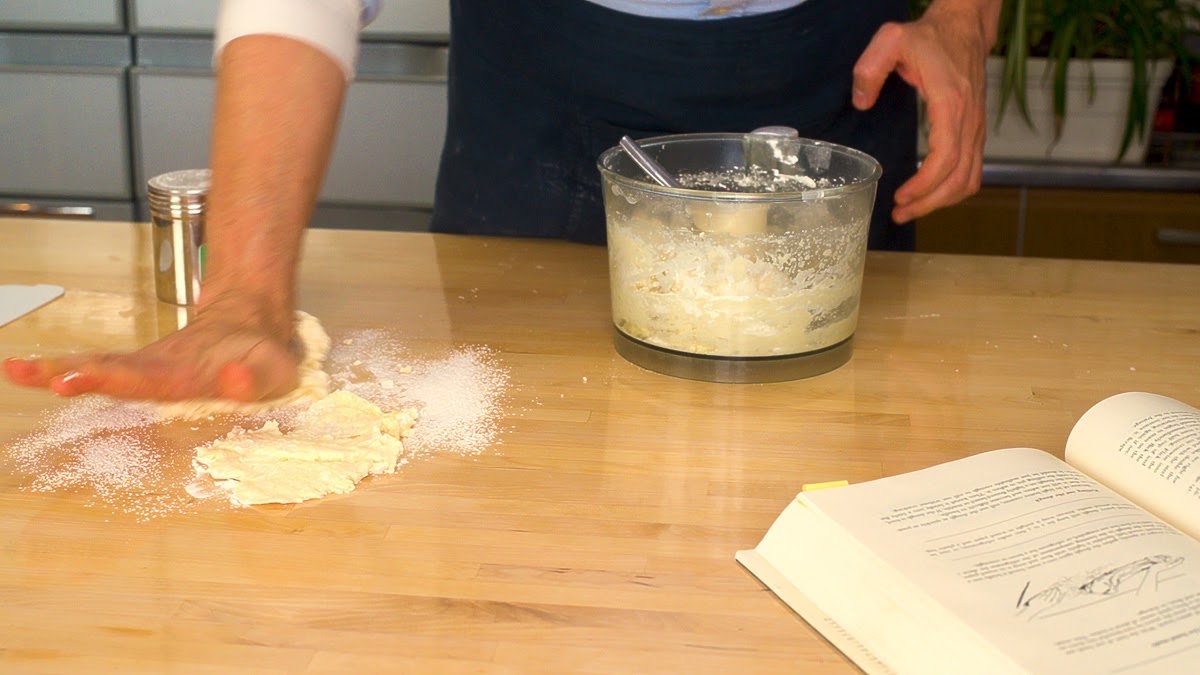
Whichever method you used, put a large tablespoon of the dough onto a lightly floured work surface and smear it with your palm. Scrape the remaining dough off the surface and repeat until all the dough has been smeared together.
(You’re trying to cream the largest bits into the flour, not every piece, so just one press is enough.)
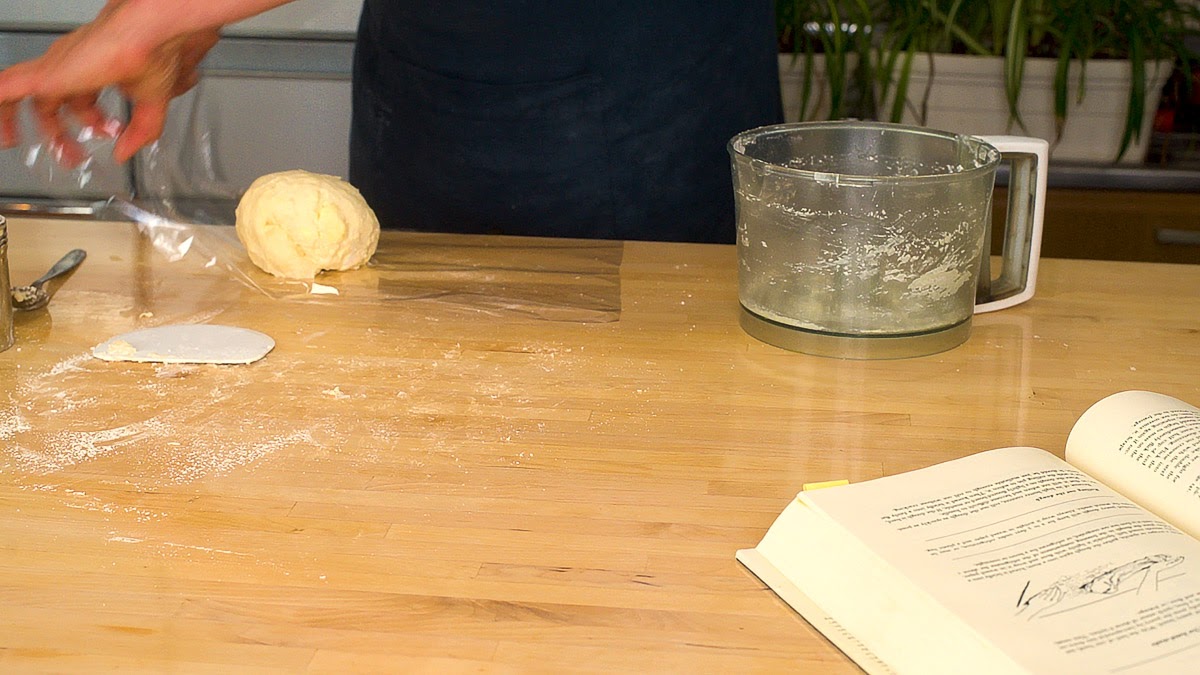
Gather with a pastry scraper and quickly and lightly knead into a ball — this should take no longer than 30 seconds.
Wrap and put it the refrigerator to rest at least 30 minutes — or overnight.
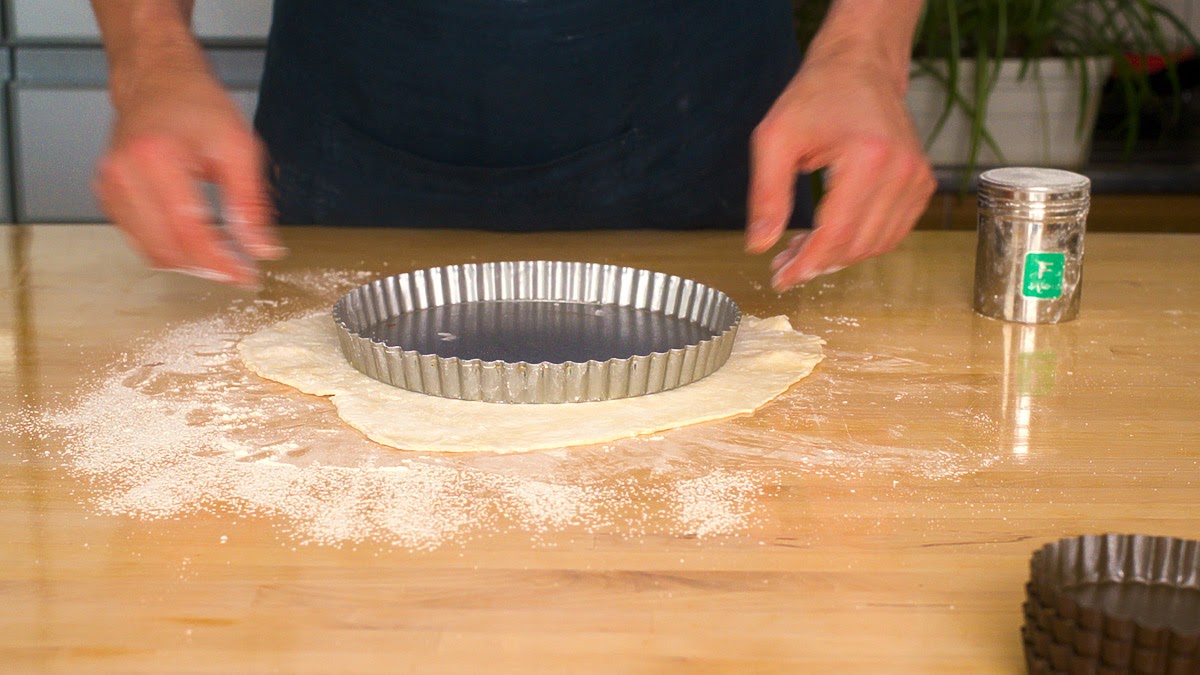
When you’re ready, roll out the dough adding flour if and when the dough starts to stick.
Make sure the dough is large enough to fit whatever pan you’re going to be using, roll it onto the rolling pin and lay it over the pan.
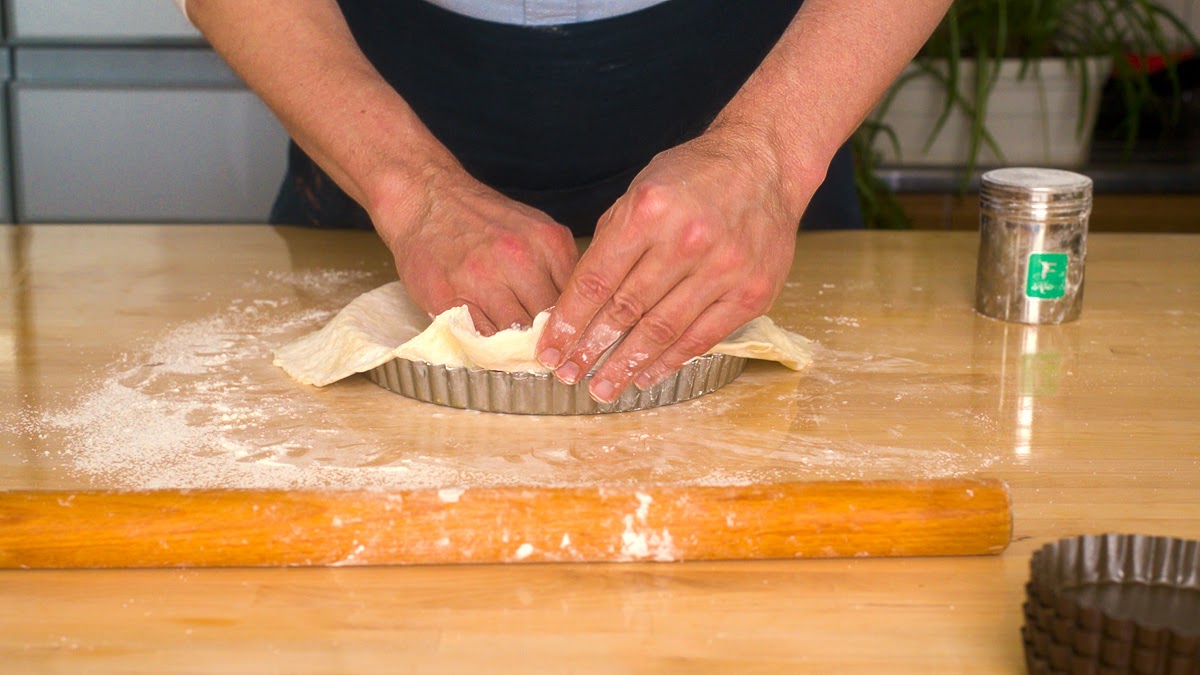
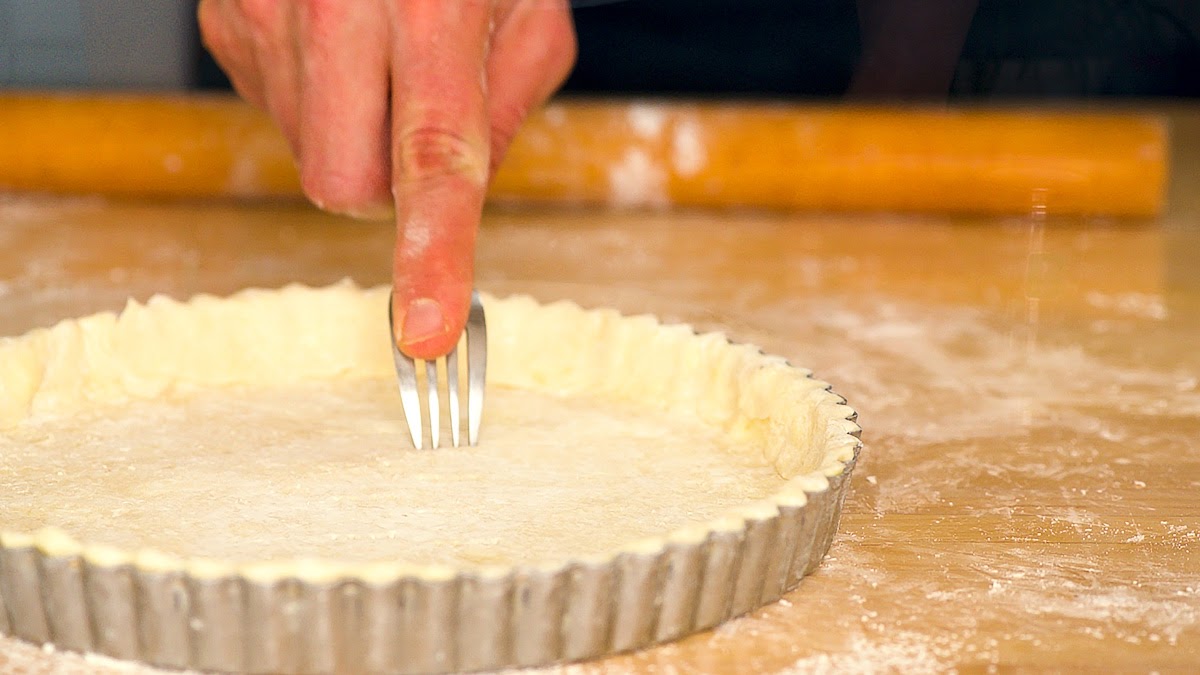
Press it gently into the tart shell, poke it full of holes with the tines of a fork and put it into the refrigerator for the butter to harden.
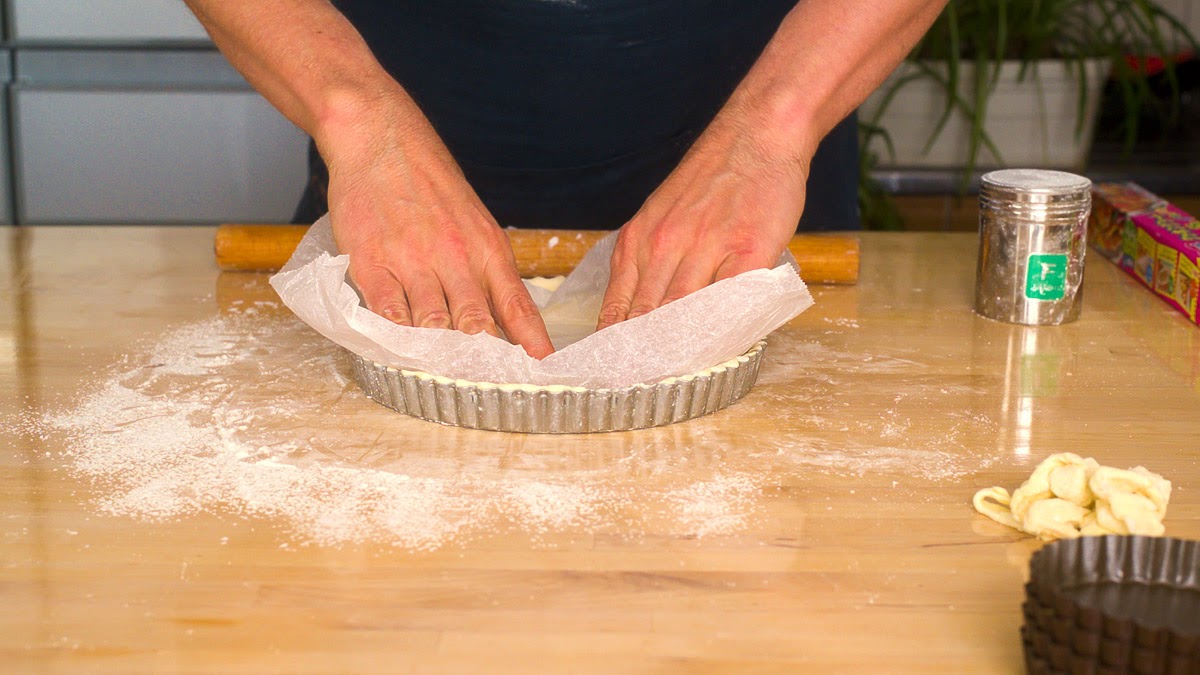
When you’re ready to use it, add a piece of wax parchment and some kind of weight to keep the pastry from rising and bake.
Bake it in a 200C/400F oven for 30-40 minutes for a fully baked tart shell or as per instructed by your recipe.
People who comment or send me mail tell me I can improve my blog by talking more about my life. From their advice I have been adding bits and bytes. A part of my life story I never speak about is poverty: I grew up poor. After my parents divorced my mother and I were so poor we couldn’t afford a vacuum. My mother borrowed one every couple of months from her half-brother’s wife. (To clean the carpet we used the back side of tape.)
We were poorer than most because my mother was unable to work — why is another story — and so we depended on welfare, food stamps, and kindness.
Sometime in the 80’s the government started cutting the welfare and food stamp programs. I was used to not having much. Our furniture came from hand me downs, our TV a tiny, portable black and white. I only ever had a couple of pairs of pants and a few shirts. This was the baseline for my day to day — but I didn’t know how good I had been living until those cuts came into effect. One example should make my meaning clear.
I came home from school one day to my mother eating an onion sandwich: Two slices of day old bread, a slice of raw onion, French’s mustard. We had nothing else. I recall she smiled, said it was delicious and wished she had know — which sounded plausible through her souther drawl, but the sadness in her eyes gave up the lie.
I broke out of what I hear called a The Cycle of Poverty. I am aware that a lot of my choices are a reaction to having been poor. I have 37 pairs of shoes because I grew up having just one, poorly fit and used to the last — but I don’t waste money and never borrow.
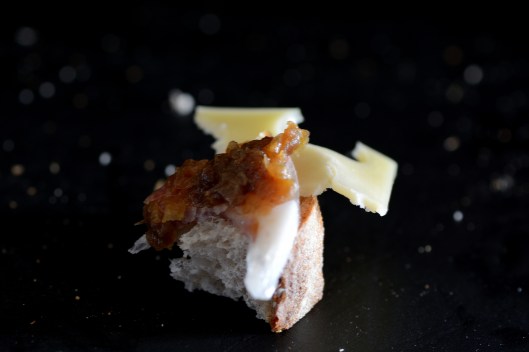
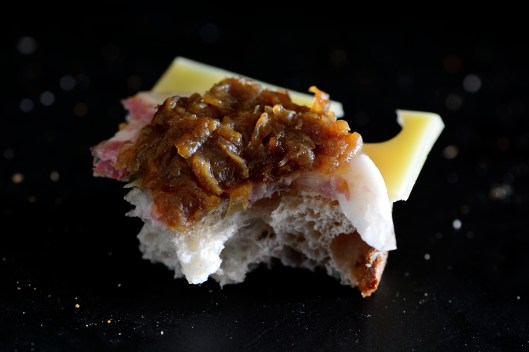
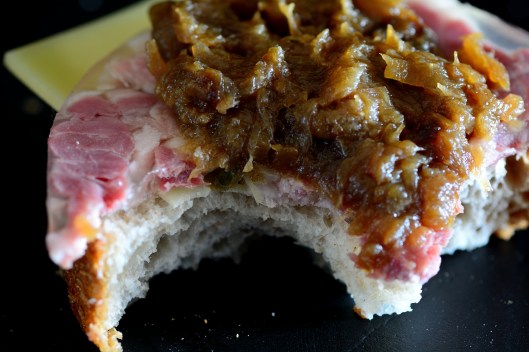
Although I rarely talk about it, I own up to where I came from. I know from experience that you can chose how to remember what’s passed. To a degree you can reshape a memory — or honor it to let it go. So I took the pungent onion and made it sweet; I crafted my own mustard to make it mine; I bought the very best bread and made an Onion Sandwich.
At least 2 pounds of brown onions sliced thin (I fill my 12 liter/quart stock pot which reduce to about 2 cups)
Up to 2 tablespoons of butter (you really don’t much, the water in the onions will prevent them from sticking for most of the cooking)
tier three (optional)
Up to 1 tablespoon sugar (near the very end to help caramelize the onions or further sweeten them, taste before adding sugar)
Up to 1/4 cup strong beef stock near the very end of cooking (to loosen the brown bits at the end of cooking)
Up to 1/4 cup water (to loosen the brown bits at the end of cooking)
Method: Put your butter or oil in a large pot. Peel your onions, remove the root end and cut in half lengthwise and slice thin. Add them to the pot with the butter. When you’ve finished all your onions put the pot on the stove and turn it on medium to melt the butter. Don’t stir the pot until it’s heated up, about 3 to 5 minutes. Stir the pot and make a decision:
If you’re going to be in the kitchen and want the dish to finish quickly turn the heat up to high and stir every five minutes or so. They’ll finish in about an hour, depending on the volume. If you want to relax, turn the heat to low and come back and stir the pot ever 20 to 30 minutes. Depending on the volume and heat, this method will take a minimum of three hours.
Your onions will go through three distinct phases:
Individual slices slowly becoming a mush with a lot of liquid, almost like a soup. This phase is the longest and requires the least amount of attention.
They will start sticking to the pot. Here you have stir more often, but there’s still a lot of liquid. At this point you’ll notice the start of a color change from translucent to light brown.
Finally they will brown during which you need to constantly move the onions in the the pot, scraping the brown bits off as much as you can. Those brown bits are flavor.
The temptation is to remove the onions when they start to stick. Don’t. Reduce the heat if you wan to but bring them to a dark brown. When they are near dark brown, this is where you would add sugar. When you can no longer scrap the bits off the bottom and sides of the pan then they are done. Remove them from the pan. You can also remove all but a tablespoon or two and add either 1/4 cup of water or strong beef stock to loosen the remaining brown bits of flavor at the bottom of the pan. I keep these separate from the caramelized onions to flavor other dishes.
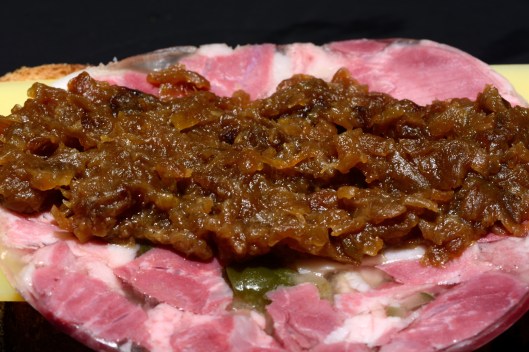
3 kilos (8 pounds) reduced to about 2 cups caramelized onions. Notice the brown bits, at this point I can no longer scrape them off, so the onions are finished. At this point I add water or broth to get those bits of flavor stuck all over the pan — don’t waste all that flavor!
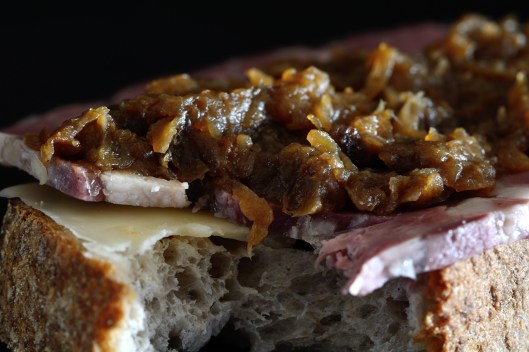
homemade mustard with canned green tomatoes served with my onion sandwich