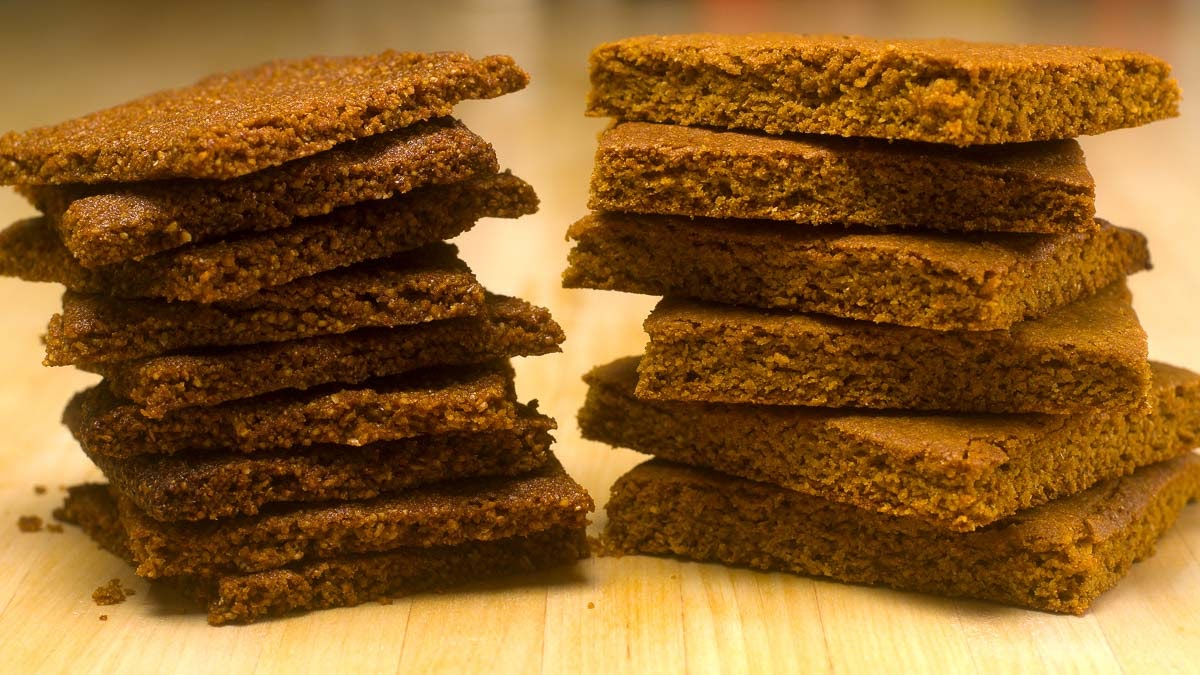
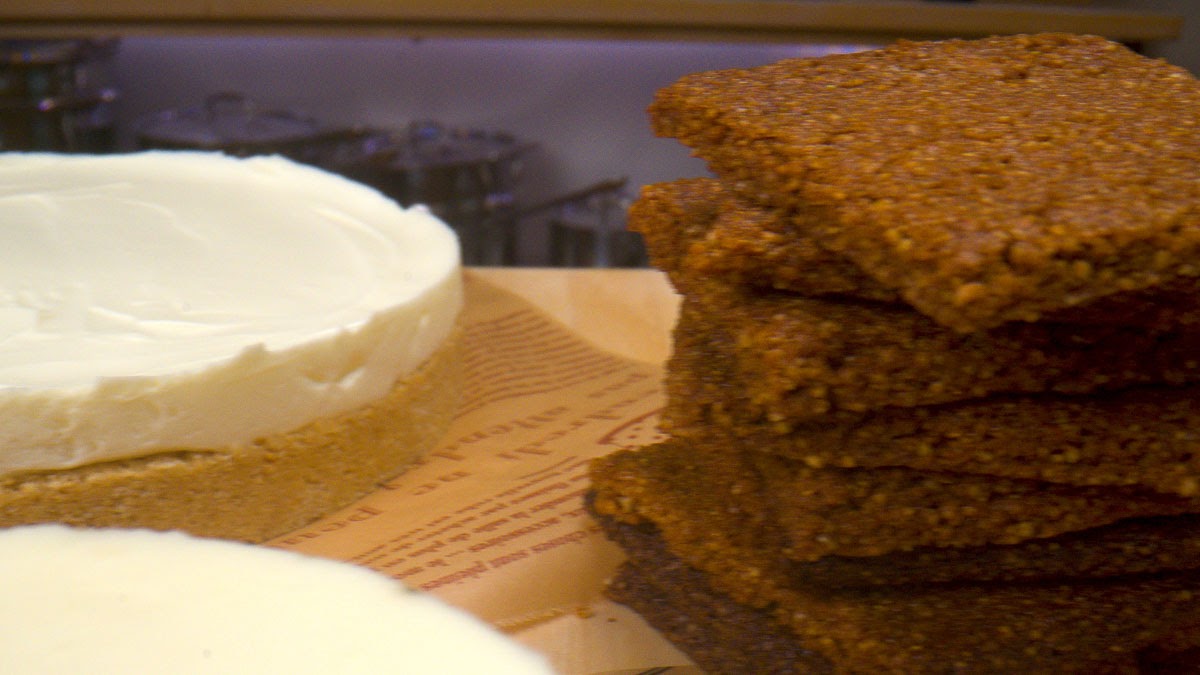
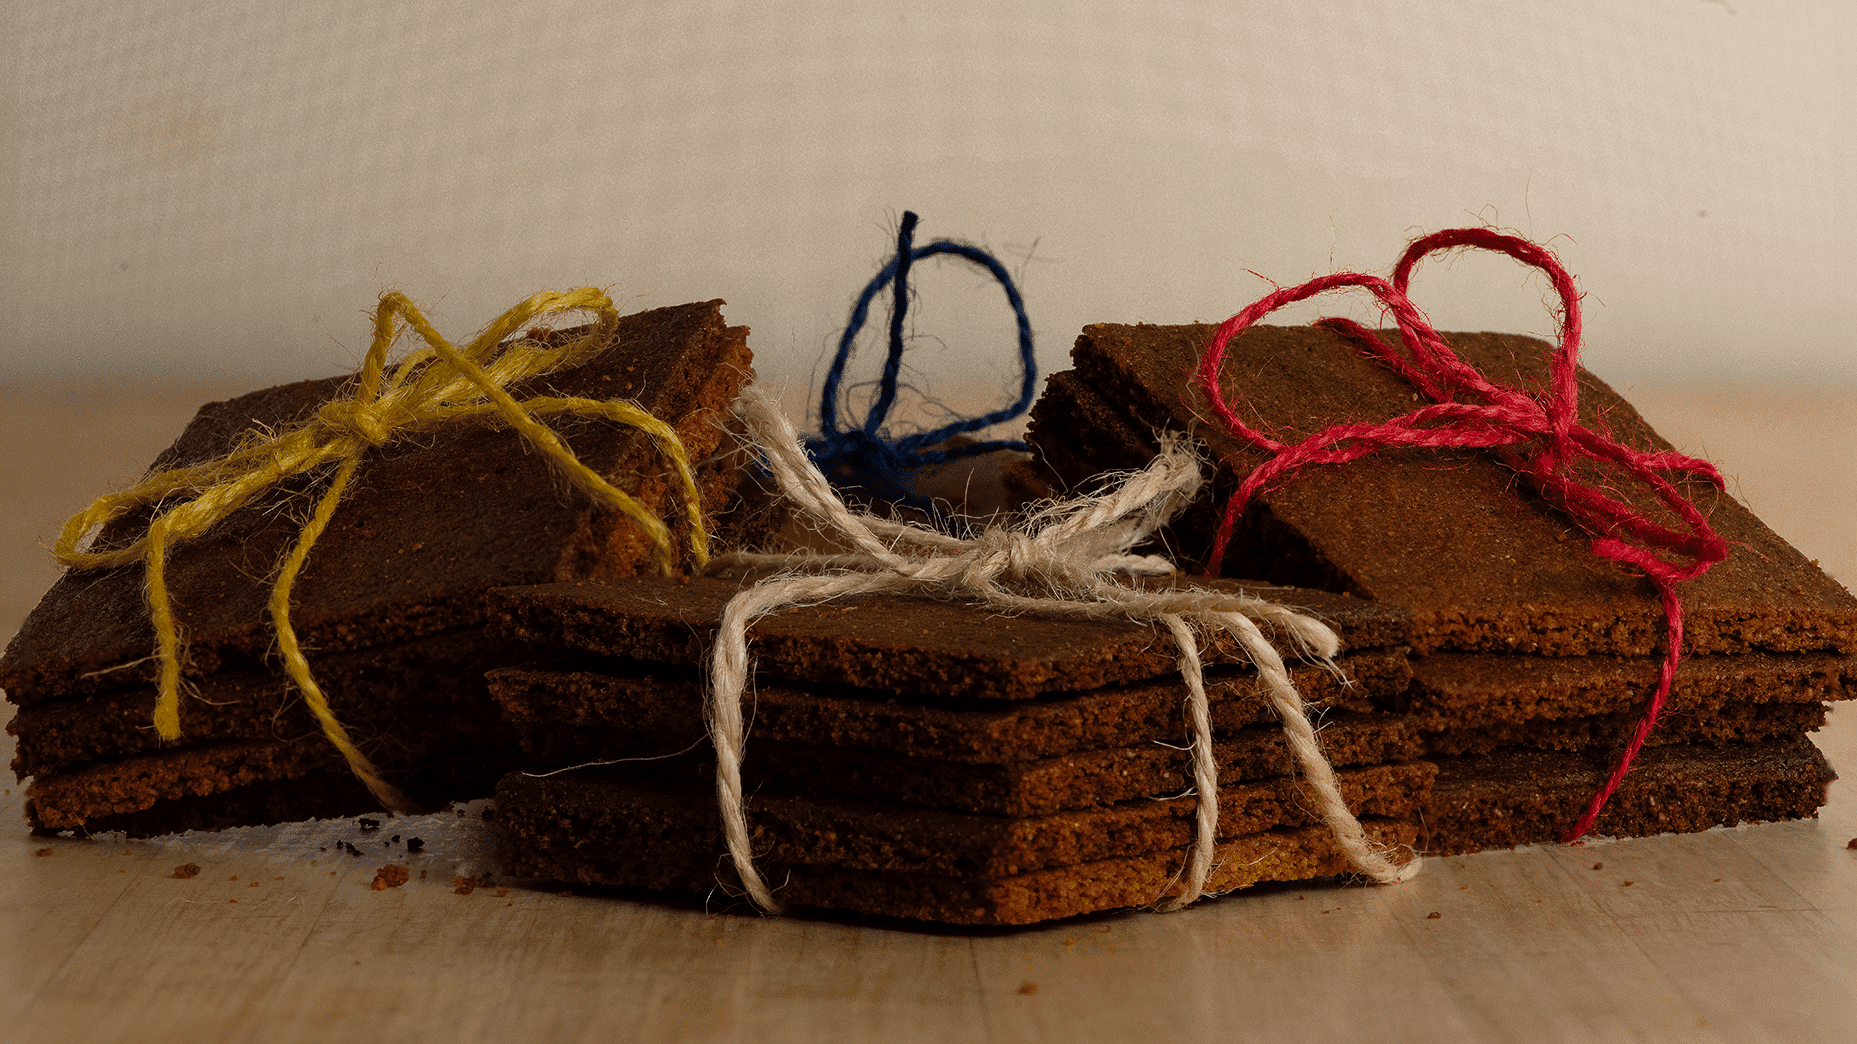
These crackers are perfect for cheesecake crusts, graham cracker crusts, s’mores, or just to have as a snack (excellent with cream cheese).
Homemade graham crackers have a delightful flavor from the molasses or honey — and a unique texture when made with graham flour, but you can make them from whole wheat flour, too.
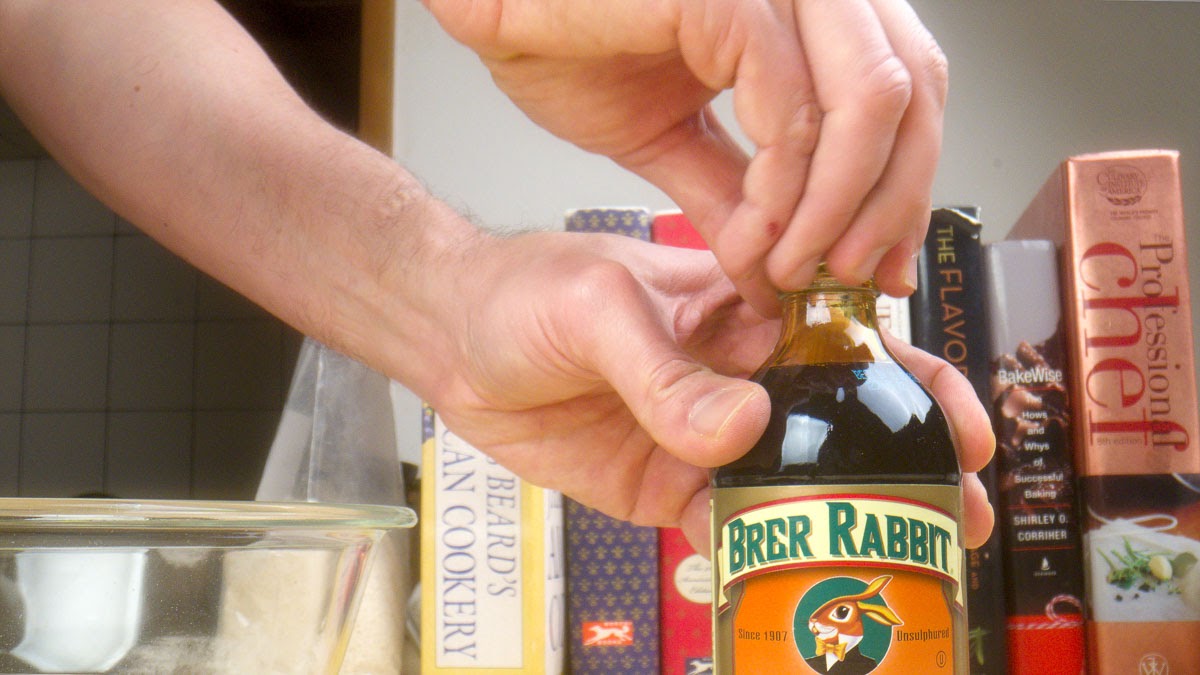
You can use honey or molasses, but molasses has an amazing taste.
Recipe
240 grams/2 cups graham or whole wheat flour
53 grams/½ cup AP (white) flour
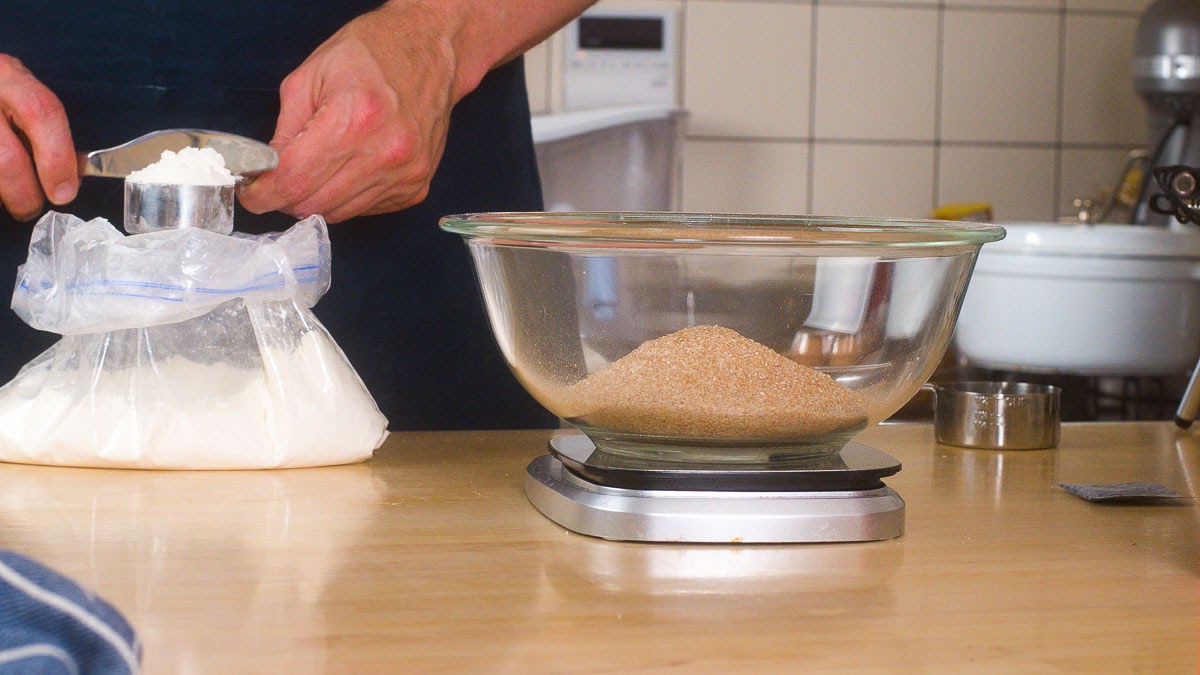
53 grams/½ cup brown or dark brown sugar
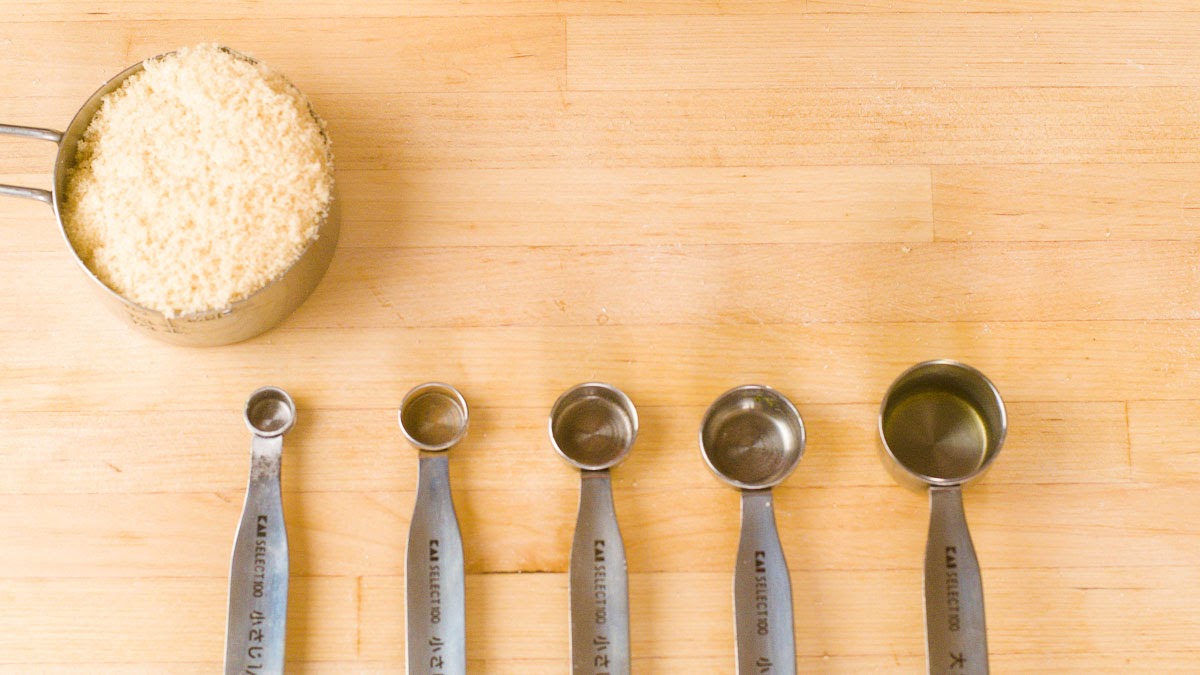
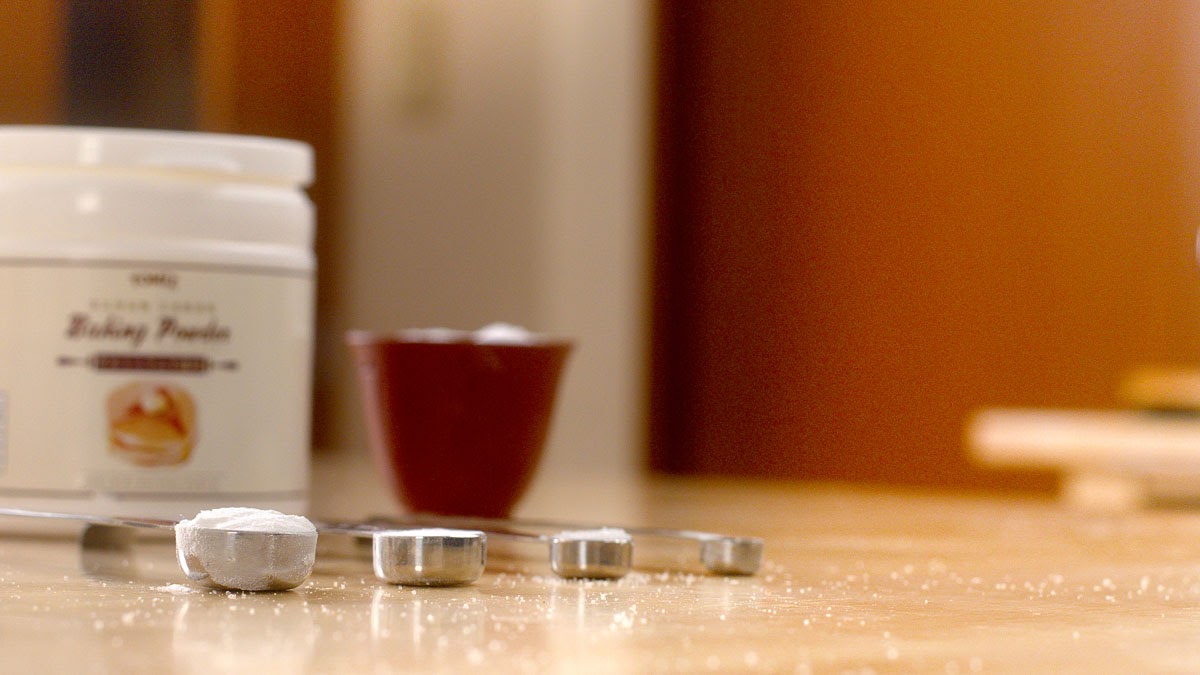
1 tsp baking powder
½ tsp baking soda
¼ tsp salt
⅛ tsp cinnamon
85 grams of butter
60 grams molasses or honey up to
40 grams of milk (you can substitute 1 tbs of milk for 1 tbs of vanilla)
Directions
Mix all the dry ingredients together.
Cut in the butter until it is the texture of sand.
Add in the molasses or honey plus the liquid.
Stir until well combined.
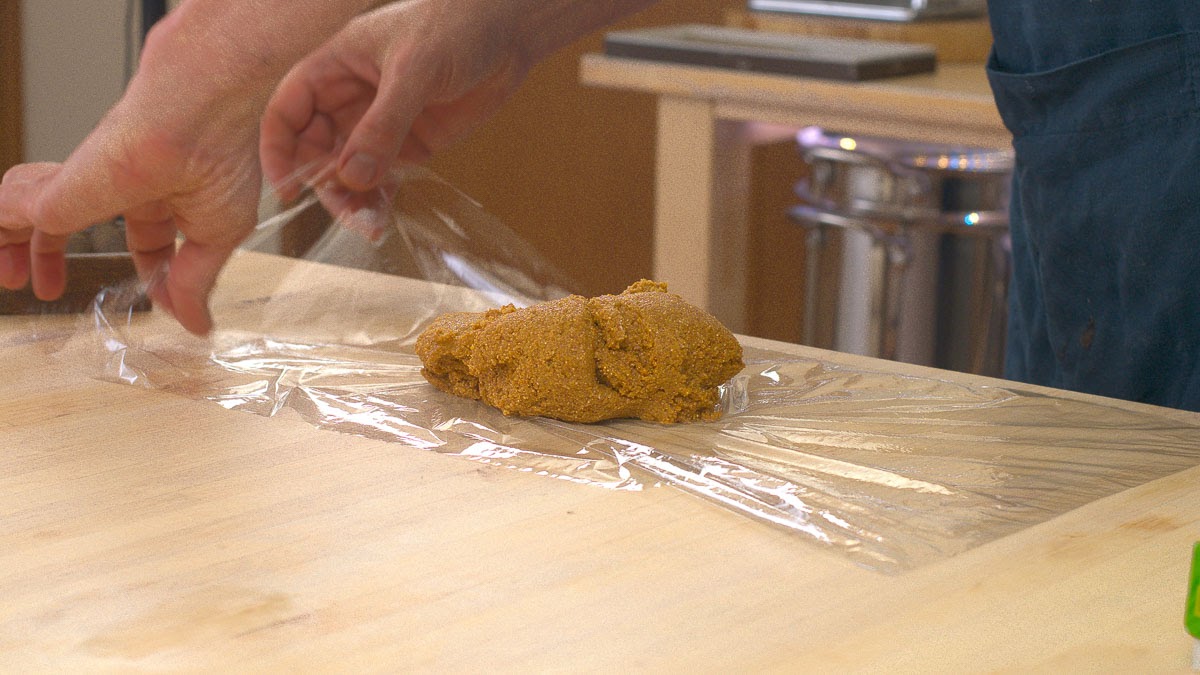
Refrigerate for at least 30 minutes to hydrate the flours.
People who comment or send me mail tell me I can improve my blog by talking more about my life. From their advice I have been adding bits and bytes. A part of my life story I never speak about is poverty: I grew up poor. After my parents divorced my mother and I were so poor we couldn’t afford a vacuum. My mother borrowed one every couple of months from her half-brother’s wife. (To clean the carpet we used the back side of tape.)
We were poorer than most because my mother was unable to work — why is another story — and so we depended on welfare, food stamps, and kindness.
Sometime in the 80’s the government started cutting the welfare and food stamp programs. I was used to not having much. Our furniture came from hand me downs, our TV a tiny, portable black and white. I only ever had a couple of pairs of pants and a few shirts. This was the baseline for my day to day — but I didn’t know how good I had been living until those cuts came into effect. One example should make my meaning clear.
I came home from school one day to my mother eating an onion sandwich: Two slices of day old bread, a slice of raw onion, French’s mustard. We had nothing else. I recall she smiled, said it was delicious and wished she had know — which sounded plausible through her souther drawl, but the sadness in her eyes gave up the lie.
I broke out of what I hear called a The Cycle of Poverty. I am aware that a lot of my choices are a reaction to having been poor. I have 37 pairs of shoes because I grew up having just one, poorly fit and used to the last — but I don’t waste money and never borrow.
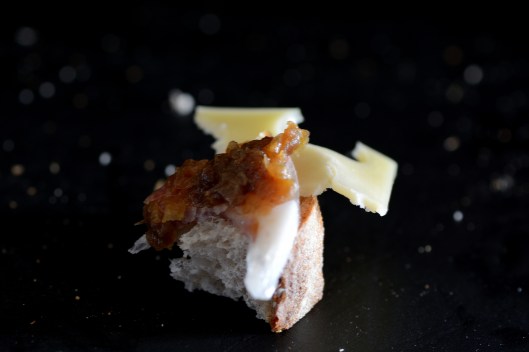
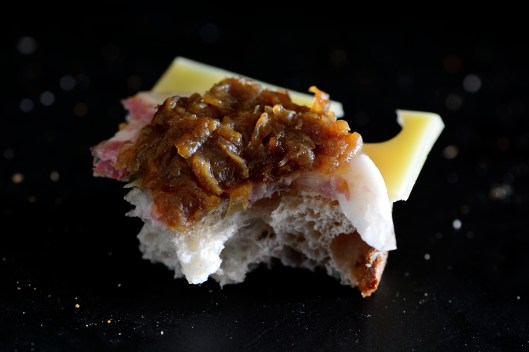
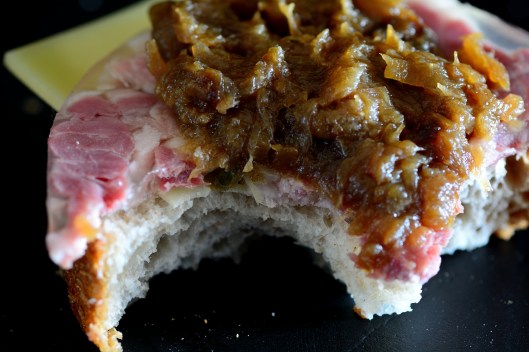
Although I rarely talk about it, I own up to where I came from. I know from experience that you can chose how to remember what’s passed. To a degree you can reshape a memory — or honor it to let it go. So I took the pungent onion and made it sweet; I crafted my own mustard to make it mine; I bought the very best bread and made an Onion Sandwich.
At least 2 pounds of brown onions sliced thin (I fill my 12 liter/quart stock pot which reduce to about 2 cups)
Up to 2 tablespoons of butter (you really don’t much, the water in the onions will prevent them from sticking for most of the cooking)
tier three (optional)
Up to 1 tablespoon sugar (near the very end to help caramelize the onions or further sweeten them, taste before adding sugar)
Up to 1/4 cup strong beef stock near the very end of cooking (to loosen the brown bits at the end of cooking)
Up to 1/4 cup water (to loosen the brown bits at the end of cooking)
Method: Put your butter or oil in a large pot. Peel your onions, remove the root end and cut in half lengthwise and slice thin. Add them to the pot with the butter. When you’ve finished all your onions put the pot on the stove and turn it on medium to melt the butter. Don’t stir the pot until it’s heated up, about 3 to 5 minutes. Stir the pot and make a decision:
If you’re going to be in the kitchen and want the dish to finish quickly turn the heat up to high and stir every five minutes or so. They’ll finish in about an hour, depending on the volume. If you want to relax, turn the heat to low and come back and stir the pot ever 20 to 30 minutes. Depending on the volume and heat, this method will take a minimum of three hours.
Your onions will go through three distinct phases:
Individual slices slowly becoming a mush with a lot of liquid, almost like a soup. This phase is the longest and requires the least amount of attention.
They will start sticking to the pot. Here you have stir more often, but there’s still a lot of liquid. At this point you’ll notice the start of a color change from translucent to light brown.
Finally they will brown during which you need to constantly move the onions in the the pot, scraping the brown bits off as much as you can. Those brown bits are flavor.
The temptation is to remove the onions when they start to stick. Don’t. Reduce the heat if you wan to but bring them to a dark brown. When they are near dark brown, this is where you would add sugar. When you can no longer scrap the bits off the bottom and sides of the pan then they are done. Remove them from the pan. You can also remove all but a tablespoon or two and add either 1/4 cup of water or strong beef stock to loosen the remaining brown bits of flavor at the bottom of the pan. I keep these separate from the caramelized onions to flavor other dishes.
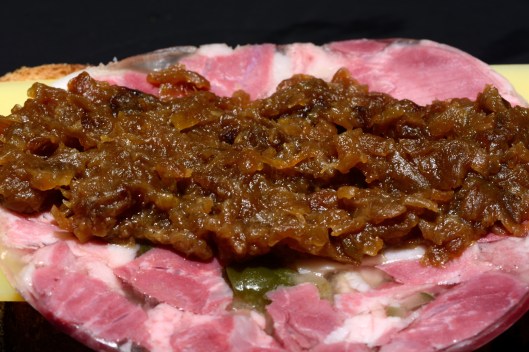
3 kilos (8 pounds) reduced to about 2 cups caramelized onions. Notice the brown bits, at this point I can no longer scrape them off, so the onions are finished. At this point I add water or broth to get those bits of flavor stuck all over the pan — don’t waste all that flavor!
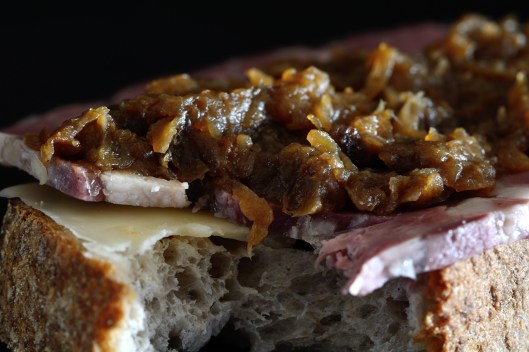
homemade mustard with canned green tomatoes served with my onion sandwich
Pastry is simple, but food stylists, paid professionals, and ideals on what pastry should be have set a high bar on personal expectations zapping creativity and confidence — and the will to try.
For any pastry, flour is mixed with fat and liquid. We add fat to the flour to cover the gluten. Just as water and oil do not mix, the fat coats the gluten, keeping the water away. Making less gluten results in tender crusts. Recipes that call for butter also include another fat. This is because butter is 20 water and that extra shorting, oil, lard is to make up for that water to achieve the golden ratio for pastry: 3, 2, 1
3, 2, 1: three parts flour, two parts fat, one part liquid
People who want to decrease calories often remove some — or all — fat; others add whole grains to improve the nutrition; others add milk, stock, or even vodka for one reason or another. This means you can change the flour, fat and liquid to meet your needs.
To make them flakey I roll individual sheets, stack them on each other layered with either butter, oil, cocoa, almond meal, powdered milk or even sugar. This provides flavor and helps the individual sheets remain separate, so when you you bite, the shell crumbles — or flakes.
This is the formula for standard French pastry.
Tier one (you must use) 2 cups All-Purpose flour (you will add flour throughout the rolling, so precision through grams is unnecessary) 168 grams or 6 oz (unsalted) butter as cold as possible 56 grams, 4 tablespoons shorteing or lard as cold as possible. Ice water Up to 1/4 teaspoon salt
Tier three(optional) Cinnamon or other sweet spices (for sweet crust) Fine herbs (for savory crust) Up to 1 teaspoon Vinegar (to weaken gluten) Up to 1 tablespoon sugar (to brown the crust) Up to 1/4 baking soda (to brown crust, works with sugar)
Method:
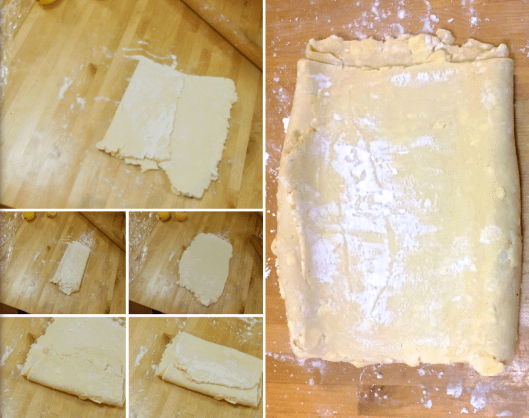
Cut the butter into chunks. Put the flour, salt, butter and shortning in a food processor with the S-Blade (pic 1 below) and pulse three times, which feels too short, but only three times. Turn on the machine and add all the water and vinegar all at once. In seconds it will form a ball, or otherwise clump together (pic 2). Stop the machine. To harden the fat and allow the dough to absorb the water, quickly place the dough in a plastic bag (pic 3) and put in the refridgerator for at least an hour or over night — you do not need to handle the dough (pic 4).
It looks horrible, but notice all the chunks of butter. Even when you make it in a bowl with a pastry cutter or the tines of a fork, your butter must be in little chunks.
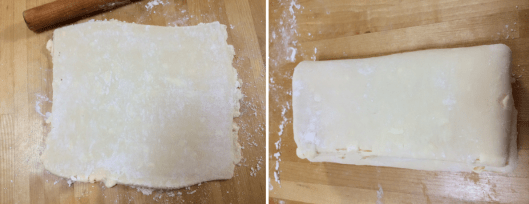
Take the dough out of the refrigerator and press it into a rectangular shape through the bag (pic 5 above). Put the contents on a floured surface (pic one below). Sprinkle flour on it and gently roll it out (pic 2). Sprinkle a little flour on it and fold it in half (pic 3). Sprinkle more flour and fold it into a quarter (pic 4). Put it back in the plastic bag and refrigerate for at least a half an hour.
As you work with the dough gently push the edges in to form a rectangular shape. It will not form a rectangle until the very last step.
Roll the dough into a rectangular shape (pic one below). Sprinkle flour and fold it into thirds, like a letter (pic 2 and 3). Roll again into a rectangular shape (pic 4). Sprinkle flour on it, fold it into thirds again and put it back in the refrigerator for at least half an hour.
Look carefully and you can still see pieces of butter. Notice that the edges are misshapen. Each time you roll, gently press the edges in.
Take out the dough and roll it into a rectangular shape and apply a very light dusting of flour then fold it into thirds (pics 1 and 2). Roll it out again and fold it into thirds. Apply just a little flour fold it into thirds and put it in the refrigerator for half an hour.
Notice the little bits of butter in the dough. That’s perfect. The edges are still ragged. The dough now feels like dough.
Take it out of the refrigerator. Roll it out one last time and fold it into thirds. Congratulations, you’ve made pastry. Cut it in half and freeze or refrigerate it. The next time you roll it out you can make a pie, a tart, a quiche.
Tighten up the edges with your hand to form a rectangle then fold those imperfect edges (to the left and right) over into thirds. You’re done. You can cut it into two pieces and freeze or refrigerate until you need them. And, once again, notice that you can still see tiny flecks and pieces of butter.
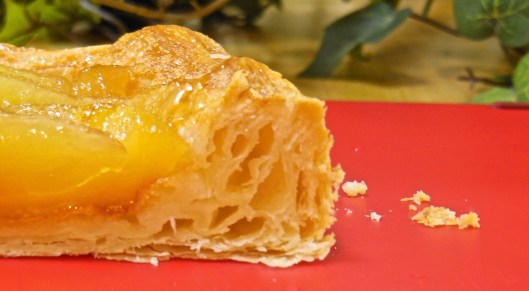
Each time you fold cold dough, you create laters of fat. When that fat melts and the steam escapes it creates a flakey crust.
The principle is the same for any dough with hard fat. Each time you dust with flour, fold the dough into thirds and roll it out, you crate layers. As long as the dough is cold the fat stays sold and separate creating a micro layer of fat. However, it if gets warm, the fat melts into the flour. The dough is still good to eat, but it’s no longer flakey. Look carefully at this finished crust. The holes are from those small, thin layers of cold butter.
In the next post we’ll roll the dough into pie, tarts, and something very special.